Showing posts with label French. Show all posts

Monday, October 8, 2012

Delightful Dress Forms!

Walk into any shabby chic or french boutique
and you'll see a dress form in one way, shape or form!
Dress forms are made of so many different materials, they make
versatile display pieces. Scanning through my photo album over the last year, I realized I photographed many creative dress forms and I thought I'd share!

 At first glance this looks like a tumbleweed! I spotted this outside a dress shop in Biloxi, Mississippi. The dress shop owner said after Hurricane Katrina, this dress form appeared on the front lawn of the shop! The owner felt if it landed there, it was meant to be there, so she stood it up and it has welcomed her customers since then!

Some dress forms are actually working forms seamstresses 
can adjust to the size of the person they are creating a garment for -
and its my experience many shabby chic lovers do not care what condition they are in
- the shabbier the better!

Many a dress form grace shop windows to draw in customers and spark conversations.
A friend and I were window shopping in St. Helena, CA when we passed by this window -
the top half was like metal armor pieced together and the bottom skirt was made from  burlap and linen fabric pieced together!

One of the most unusual dress forms I have encountered was this striking 'mermaid' form!
The texture of the wicker top half is a great contrast to the grassy ruffled skirt, and I love how the bodice is cinched together. Seeing this form from a distance grabbed my attention and made me cross a street to check it out much closer - AND I ventured into the shop where it welcomed me!

Natural materials were also used for this 'angel' dress form 
seen outside a florist shop during the holiday season!

This shabby angel is an artistic assemblage welcoming visitors to Magnolia Pearl's space
 in Round Top, Texas.  With so many unusual details in this piece of artwork, it draws you in closer to check them out!

I love how this satin blouse is a stark contrast to the rough burlap skirt!

Dress forms are used by museums to display historical attire . . .
and 'haute couture' from all eras!

The peacock feathered skirt on this dress form takes the cake!

 
 Seen in Benicia Antique Mall,
 it's all tied up with a big red bow!

 This is one of the most beautiful draped dress forms I've seen!
Spotted in Anthropologie's window, whoever created this. . .


was an expert at draping fabric and using quilter's pins!
I just love how the pins follow the contour of the dress for
and create a design that becomes the focal point.


From elaborate dresses and high fashion to simple uses for display.
dress forms are essential to retailers, dress makers, and designers.This dress form displays multiple brooches at Cobwebs Antiques, in Bishop, CA


And sometimes they are just another cherished treasure in your home!

Thursday, July 14, 2011

How-To: Easy "Paris" Banner

Happy Bastille Day!!  I love everything French and today is a day the French celebrate!  I made a "Paris" banner to celebrate - I could have done it in Red, White and Blue since those colors are France's national colors, but I already have one of those for Fourth of July!
 So I decided to go with the more popular pink, white and black 
colors for a Parisian Theme. 
Banners or garlands make everyday occasions extra special.
Here's an easy way to create a banner.
                                                                   
 
First, cut out a basic shape out of card stock for each letter that your banner is going to spell out.  I am going to make a banner that spells "Paris" so I needed five shapes.  You can use a Cricut machine to cut these out if you have one.  The shape can be a square, diamond, rectangle, circle - whatever you like that will fit the theme of your banner!  I like to use cereal boxes - the thickness of the cardboard is perfect and I always have a box with just a little left in it I can dump into another cereal!  You can cover the cardboard with scrapbook paper or just spray paint all the shapes at once when you get them cut out!

Punch two holes with a standard hole punch in each shape about two inches apart.

Grab some glue - I used this kind for this project  because the tip allowed for a tiny stream of glue to come out at one time.

Squeeze a narrow stream of glue along about half the edge at one time and . . .

 . . . dip the glued edge into your choice of glitter.  Tap lightly the glittered edge with your finger to make sure the glitter sticks to the glue. Repeat to adhere glitter to the second half of the shape and then do the rest of them.  

 I used Recollections Tinsel Glitter here so it looks a little more vintage.  German glass glitter is also good to use as it will tarnish with time if you want that authentic 'vintage' look!

Next, grab some scrap scrapbook paper in a pattern you like and cut a small diamond shape out of it.  I used this paper because it already had perfect diamond-shape clusters all over it and it was pink which fit the look I wanted. I also cut it out using a wavy shape scissor instead of plain scissors so the cut would be more interesting.  You can cut out any shape for this step - I just wanted little diamonds!

Glue the diamond shape scrapbook paper pieces to the middle of each shape.

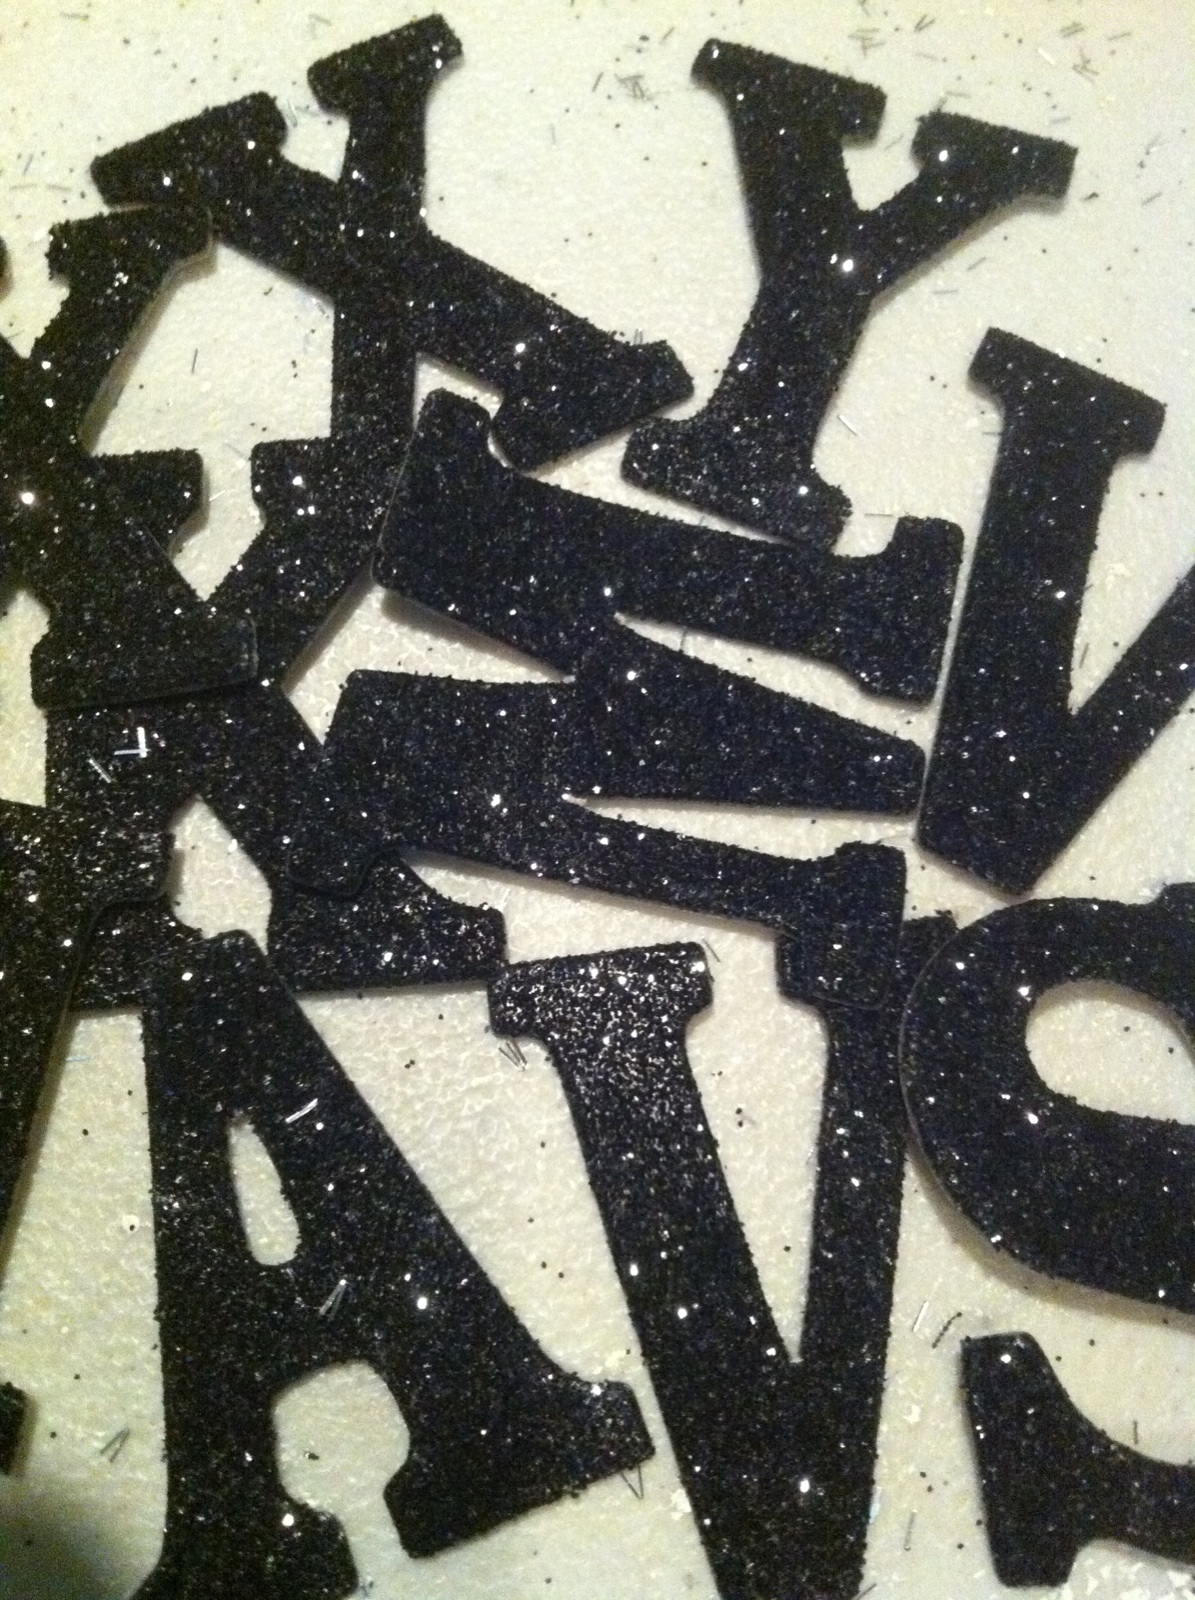
Find some glittered letters at your local craft store.  These come in lots of sizes and colors.  I am using black glittered letters for this project.  I have seen them in pastel colors, white glittered, red glittered, black glittered, etc.  

 You can print letters from your computer, like the letters on this banner,  and cut them out individually if you can't get to the craft store.  If you have a Cricut machine you can cut them out yourself or another option is to used rub-on letters but I suggest you rub on each letter before you add the glitter to the edges!

Glue one letter to each glittered edge shape - center it on the diamond and between the two holes you punched in the top to be sure it reads right when you string the letters together.

Finally, string the letters together in order to make your word.  I used black tulle to string these letters together.  You can use ribbon, jute, fabric scraps, shoelaces, just about anything to string your letters together to add character to your banner.  
My theme was Oooh La La "Paris" for this banner so frou-frou tulle was perfect! 
Make sure you cut a long enough piece to tie the ends to whatever you are hanging your banner on and enough to add bows if you like!  
I love making these banners and have several for sale at Melange. 
I have also made them for gifts and it is a gift the receiver seems to cherish!

I am linking up to these parties so check them out!

Fireflies and Jellybeans: Show Off Your Stuff Party

Somewhat Simple: Thursday Do It Yourself Party

Tuesday, July 5, 2011

Before and After: Vintage Double Bed

This vintage bed was a cherished designer piece decades ago.  A friend's teenage children worked at a consignment store in the East Bay area and they grabbed it while at work one day.  It served it purposed well while my friend's daughter attended the University of Nevada-Reno but was surrendered to me when she graduated,
to see if I could give it new life and purpose.

 The rounded foot board gives it classic styling and the groove along the top of both the head board and foot board adds some extra detail. But the front was still pretty plain and I decided it needed some embellishment.

So I set out looking for the perfect piece that would fit the arch on both the head and foot boards.  This was no easy task since the curve of the headboard was a bit more gradual than the curve on the foot board.  After numerous trial and errors trying to find two identical pieces to fit, (and a small fortune!) I realized I was going to need to different pieces. 

The bed needed lots of sanding to get the old cracked varnish off, and then a couple coats of primer to make sure none of the stain that had been used previously would come through when I gave it a new coat of antique white.  The embellishments really added that extra flourish to make this bed a standout piece.

Sanding between coats of paint kept the paint nice and smooth.  Next I distressed it to accent the curved lines and the details, which is hard to see in this picture!  Finally, I sanded, primed, and painted the wood side rails.  This double bed is now ready for a new life in a new shabby chic, cottage, country or french themed room!

I moved it into my space at Melange and topped it with a new bed canopy from Pottery Barn to really draw attention to it!  I strung one of my "Princess" banners across the canopy to set the stage!  I absolutely love this bed!   It is so much fun to see the excitement something I have worked on so hard brings to our customers.  It is going to be hard to part with it but I love it when a customer loves something as much as I do.
I know it will be cherished once again.


I will be linking up to these parties so check them out!


Wow Us Wednesdays at Savvy Southern Style


Faded Charm Cottage White Wednesdays

Friday, July 1, 2011

Before and After: Pair of End Tables

 Summertime means cleaning out the shed time!  I can't remember where or when I discovered these end tables - they've been in the shed for years!  These two toned tables scream 'the seventies' but the cabriole legs and wavy edges say 'French Provincial'! They are perfect specimens for  'the shabby look'.

First step - sand off the old cracked varnish! Wow! Look at those water spots - what to do?  Sometimes the old stain or the water spots will work their way through the paint as it dries. So . . .

Time to spray on a layer of primer!

Two coats of paint, and then some sanding and these are properly shabbied!
I decided to paint the wire a french gray . . .

Now they're ready to move to Melange! 
This pair would look great with a couch or bed between them. 
At least they are out of the shed!

Monday, June 13, 2011

"Ooh La La Lingerie" Bridal Shower

Ah - June! Love is in the air and there are loads of weddings!  But before the weddings, come the bridal showers. After my posting "Before and After: Patio Table" I had numerous emails asking me to reveal the rest of the shower so . . ..  At the request of my readers, I am sharing the "Oooh La La Lingerie" Bridal Shower I held for my niece!

These invitations were full of surprises!
The little lingerie card slide out the top of the gift box and the colors set the color palette for the party- Pink, white and black with a sassy french twist!

First -decorate the mantel! My Flea Affaire wreath, made by my friend Deidre,  with "Je t'aime" - the french words for 
"I love you" hangs in front of the mirror. Perched below it, two lovebirds with miniature silver vases, filled with white roses.

More candlesticks flank either side of the mirror with pale pink candles - the candlelight will add a bit or romance to the evening shower!!  A 'Congratulations" banner hangs below.

 
Next - set up the dessert and drink buffet table.  A black and white square tablecloth was layered over a pink damask table cloth to cover the table.
 I placed one of my small patio tables on top to create height.
A black satin decorator tablecloth was draped over the patio table.
Wine glasses, champagne flutes, some pink tumblers, crystal wine charms and a darling shoe bottle opener were placed on top.

 
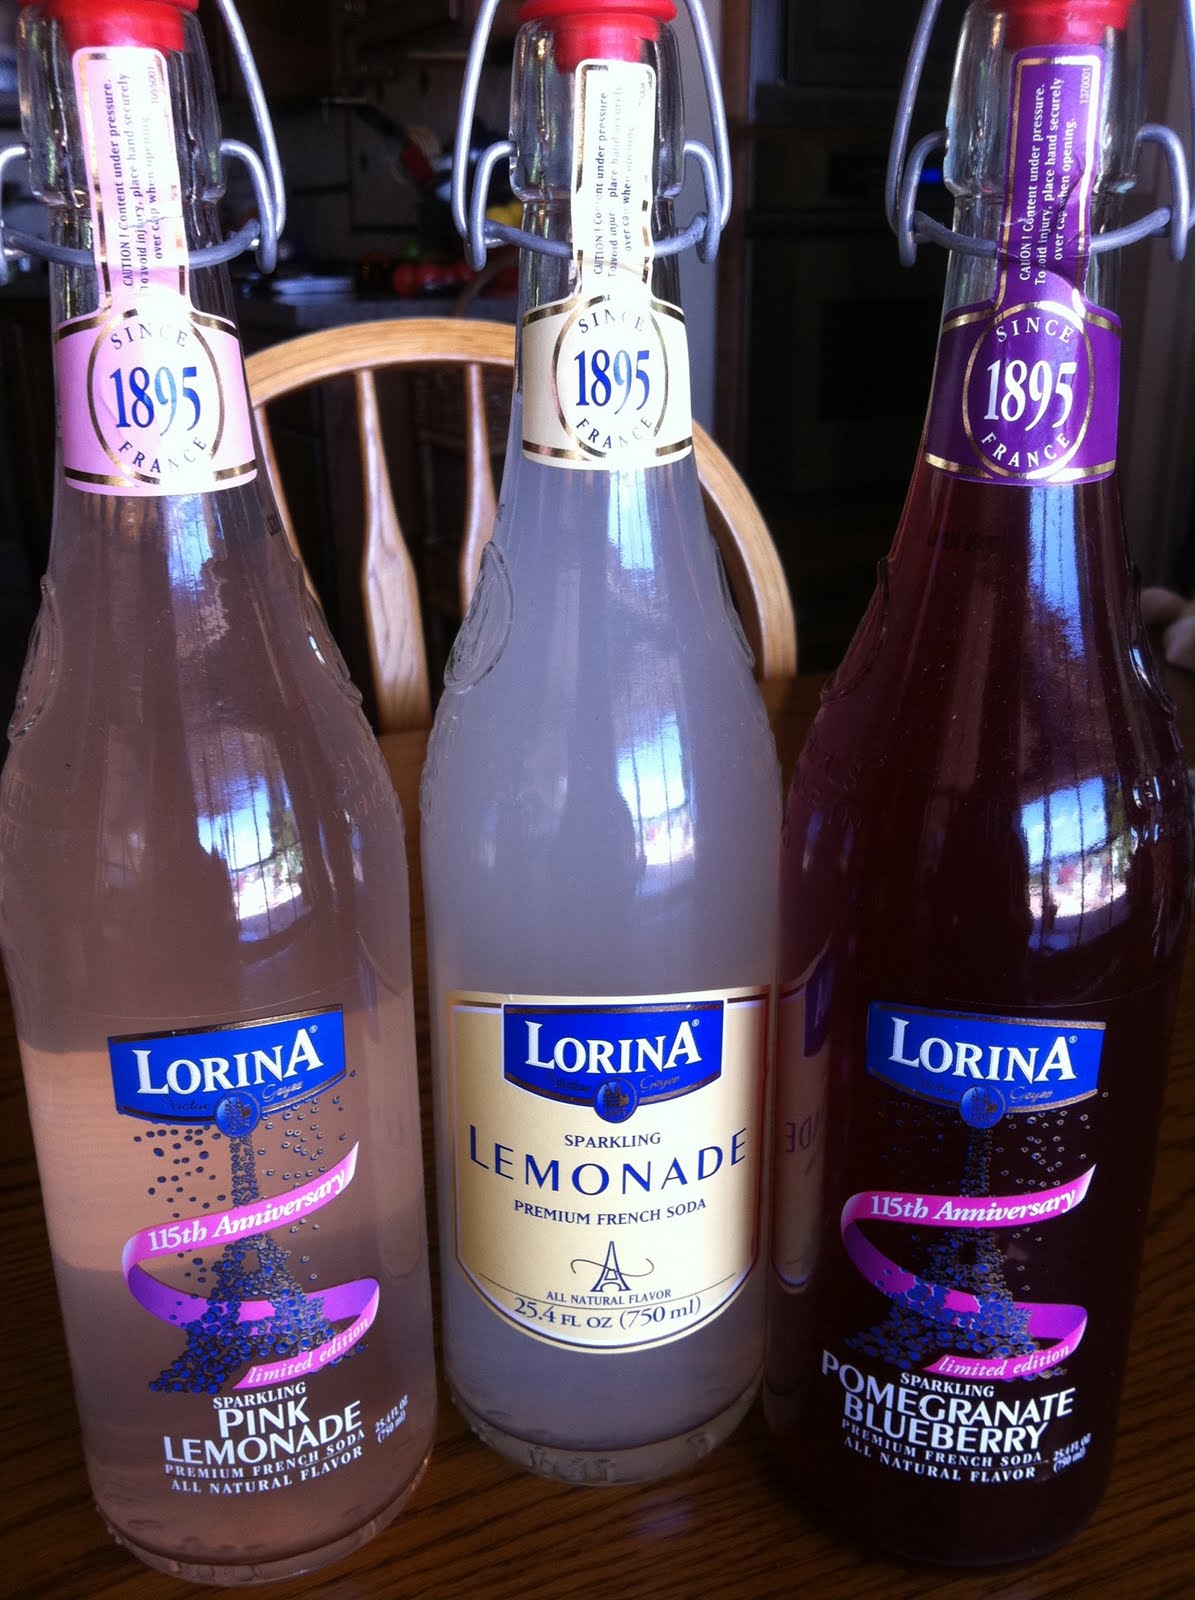
My patio table converted into an accent table for the buffet! A bow, made with pink sparkle tulle, gathered around the extra fabric finished off the look!  I placed my silver punchbowl filled with the champagne, wine and lemonade bottles just to the left of the glassware table.

 French sparkling lemonades are great to offer your guests who would prefer non-alcoholic beverages.  Find them at Cost Plus or Bev Mo!
 
 
A vintage oval mirror placed in the middle of the table 
reflects the candlesticks and cupcake holder as the  centerpiece.  
I love using mirrors as part of my tablescapes!  They add so much glamour and their reflective surface adds that extra bling to the display.  
My grandmothers sterling candlesticks sit alongside some glass and mercury glass candlesticks, filled with various shades of pink candles.  
The silver shell dish, and the crystal candy dishes were some of our wedding presents.
The pink two tier serving dish was a treasure found at TJ Maxx years ago for $3!  
It had a little crack in the glass at the top tier but I didn't care- it was darling!
The black tiered server has been used for years and the cupcake display under the plastic I just received from my sons for Mother's Day this year.

The black chandelier seemed a bit undressed after I got the table set up so I decided to swag some pink organza fabric around the arms to dress it up!  This chandelier with the crystal bobeches was once of my 'finds' - it only cost me $5 at a thrift store!  
I loved the crystal accents and the fluidity of the arms, but it's bright gold color quickly got a coat of satin black spray paint when I got it home.
Voila! A perfect chandelier for my french themed dining room!
(I did have some help from my son, Alex, who took it apart and reassembled it 
when I was done painting - he was always good with puzzles!)

 
I glittered this "love" cutout of wood, and hung it from the bottom
of the chandelier for a special touch.

The 'hardscape' was complete - it was time to move on!
With all the rain in our area this year, my roses were more beautiful than ever!  I was running out of time and wanted to have lots of fresh flowers arrangements so I asked one of my adopted daughters, Lyndsey, to come over to do the flower arrangements for me.

  Lyndsey is one talented young lady and had competed 
in flower arranging in FFA (Future Farmers of America) in high school.  
I showed her all my vases and where they would be, showed her around my garden, 
gave her some clippers and a work area and she went to work on the arrangements.   Lyndsey did a fantastic job, adding a bit of greenery and the flower buds from my ornamental bamboo plant.  
This one large mercury glass vase arrangement needed to be a little higher on the table, so I placed the vase in a crystal pedestal bowl and filled the bowl around the vase with more kisses- now it was the perfect height!

I placed a quilted, toile runner down the middle of my kitchen table, added the vintage pedestal mirror, and a small crystal dish filled with various pink flavors of Jelly Belly jellybeans. Lyndsey filled my silver Revere bowl with more roses from my garden.

Roses frame the vintage candy dishes, filled with pink candies, 
on top of a vintage mirror to decorate the coffee table.

 This Lenox vase was just the right size  to use on my kitchen island.  It looked beautiful filled with roses atop another dainty vintage mirror!  The pair of salt and pepper lovebirds were another Anthropologie find. This display holder was meant to hold a photograph and is perfect for menus or in this case, an invitation!

Ecstatic!  That is what is felt when my shopping excursion brought me to this  lingerie!  What could be a better gift for my niece than lingerie that matched her bridal shower invites - especially since it was a lingerie shower?!  I found two pair of boyfriend panties - this pink one with the black lace trim and an all black pair, so I added them to her gift as the camisole only came with the little thong you see in the middle right of the picture!
I made three kinds of cupcakes for the dessert bar: Super Lemon - a lemon cupcake with lemon frosting, Mochachino - a chocolate cupcake with chocolate chips inside, with Kahlua infused frosting accented with a piourette cookie, 
and a Lemon cupcake with Raspberry frosting.  
I found these bride and groom cupcake picks,in a little Meri Meri kit. complete with liners, at Sur La Table.  Pink and white candies filled various dishes 
to add more pink to the buffet.  The Pepperidge Farm Raspberry cookies fit the bottom tier of the dish well with Jordan Almonds on the top. 
 The layered strawberry cheesecake topped with fresh strawberries was enjoyed by guests as well but I didn't get a picture of it!  
My niece's name is Jordan - what would her bridal shower be without a sweet little silver dish filled with Jordan Almonds?!
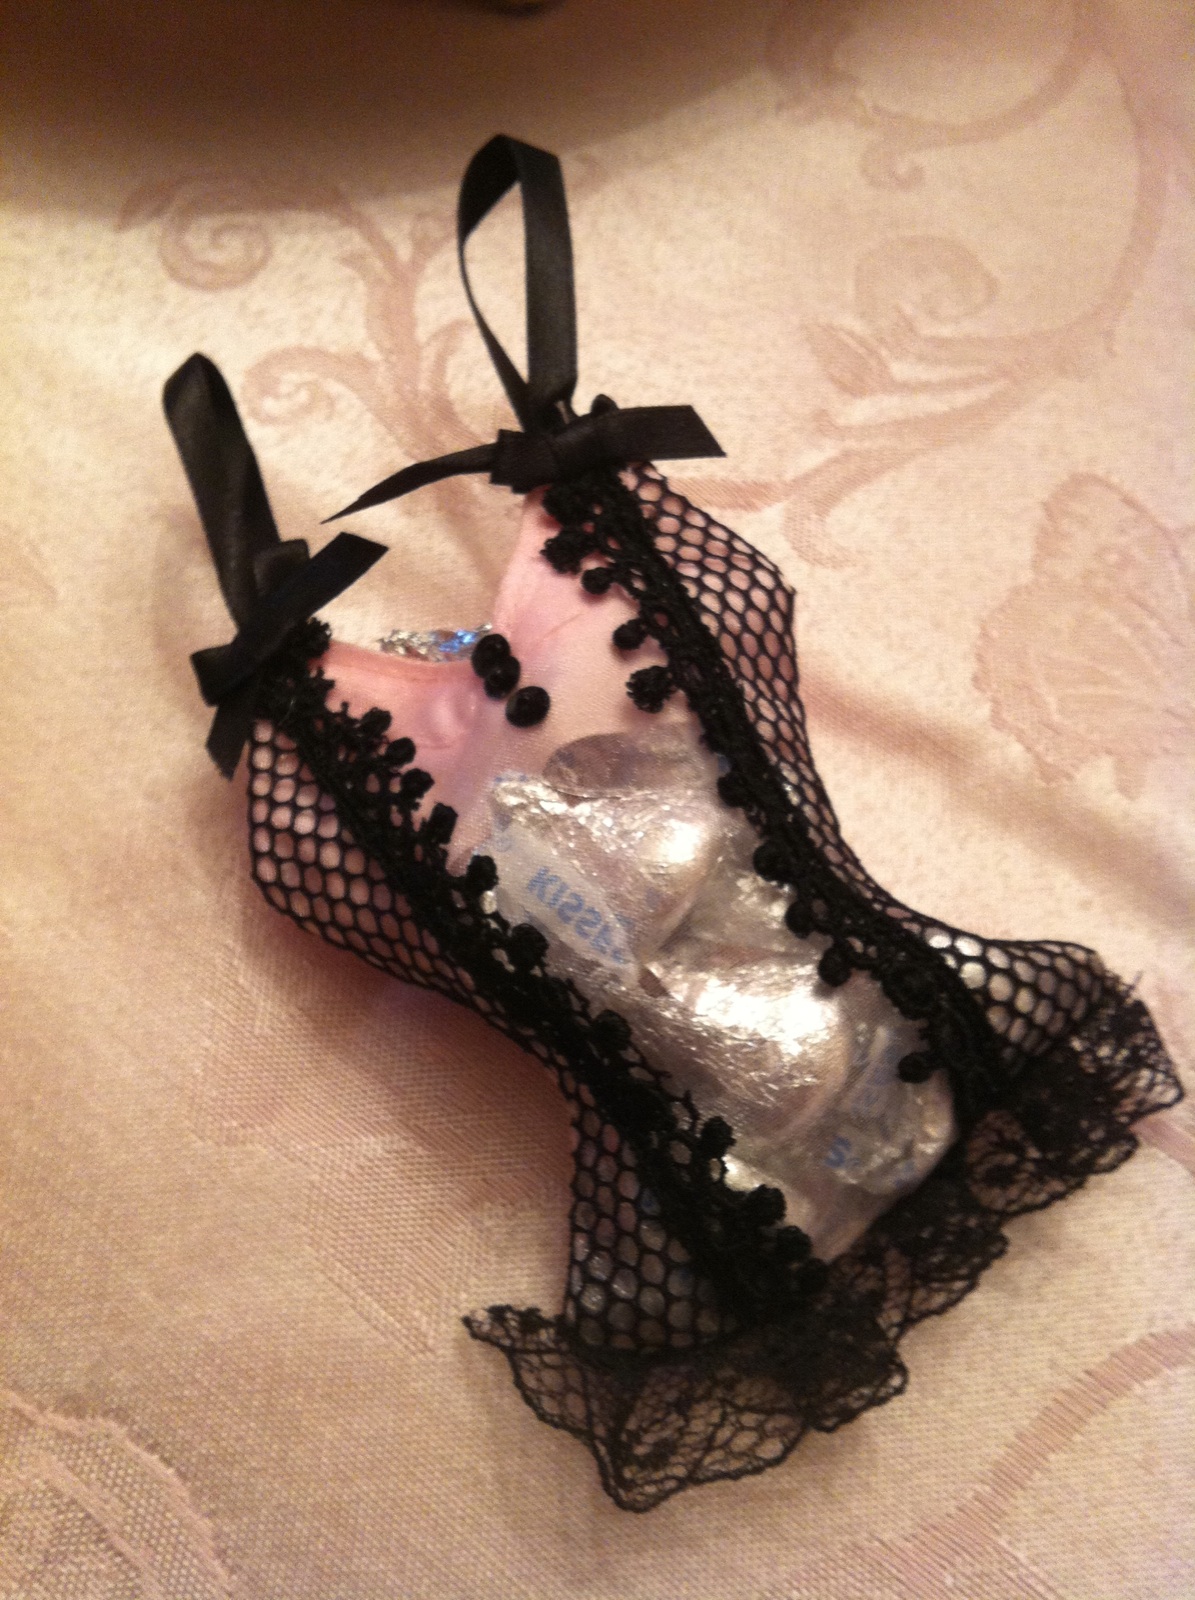
These sweet little favor bags matched the invitation and theme perfectly!  Filled with Hershey's Kisses, each guest went home with 
a little "Oooh La La" from the shower!

Jordan - the beautiful bride!