Showing posts with label redecorate. Show all posts

Friday, November 9, 2012

"Cherish" Room - Day Three!

My car was filled to the brim as I pulled out the driveway! One thing you get good at in this business is creative and strategic car packing.  The old spring mattress was the first to go in with a packing blanket on top since I was going to have to put my little black table upside down on top of it and I didn't want the table to get scratched!  More packing blankets topped the table and then the frames lay nicely on top of it. The painted letters all sat on the front passenger seat.  I brought along a few more seasonal items for my display and and a box filled with my tools for the day.

It was so nice to be greeted by a newly painted room!  I decided to start with arranging my frames.

The slender part of the wall was a perfect fit to start hanging the frames. Empty frames, both simple and fancy, are often requested by customer, with numerous creative projects found on Pinterest these days!  The most popular projects are chalkboards and bulletin boards.

Frames can also be used to create architectural interest on bare walls, and then filled with other wall art such as letters, mirrors, and wow! Actual artwork!  I try to create displays to give customers ideas of how to decorate their own homes.

Next up the letters! Now you can see what I needed them for!  I wanted to spell "Cherish" but I didn't realize I was missing the "C" so I decided to go with "Wish" for the Christmas season! Hopefully my "C" will come in by the time the holidays are over!

To create the feel of the holidays, I like to use fabric backdrops to add some drama to my space.  I found this amazing fabric which looked like a wood pile and it immediately said 'winter' to me. Using just safety pins, I folded the edges in to narrow the fabric width in order to match the space width, then folded the top over a dowel and safety pinned the fabric along the length of the dowel.

 Using safety pins instead of actually cutting and sewing allows me to use the yardage for another purpose once I'm done using it for a backdrop.  I screwed two garment hooks into the wall for the dowel to rest on.

 Luckily, two coworkers Karen and Betty, were there to help tell me when it was level - otherwise I would have had to climb up and down that ladder a million times to check and recheck.

I placed my little black table just in front of the backdrop and put a piece of burlap down to protect the top.  I purchased an artificial Christmas tree at Smith and Hawkins when they were going out of business and this will be the third year it has been my display tree.  I plugged it in to check the lights before putting it up and once again they all lit up, so five minutes later the tree was up and sparkling.

Wow - I guess I didn't focus well enough! The old eyes just ain't what they used to be! I'll get a new picture and replace this one as soon as I can! 

The black chalkboard to the left was the starting point for this grouping.  Paring the black metal pieces with the more rustic frames, echoed the black background and wood in my back drop fabric. 

With everything I brought put up, it was time to head back home to get some more painting done.  It's finally starting to look like I have accomplished something!  All the wall items need to be in place before bringing in the furniture as it's much harder to deal with hanging pictures, etc. when you have to move everything in front of it - that is one nice thing about starting a space from scratch!

Here's one more look from the doorway - I just noticed the oval mirror inside the large white frame repeats the oval of the white frame - glad that worked out!  The furniture in the bottom right of the picture still needs to be moved out of the space and then I can start working on the next two walls. Thanks for following along so far - more to come tomorrow!

Monday, November 5, 2012

"Cherish" Room - Day One!

After four months at Fabulous Finds, I am ready for some more space!  I'm inviting you on my journey of creating my 'Cherish' room, with daily blog posts for a few days documenting my room makeover! First, let's take a quick tour of the room to be transformed!

This bright green room was formerly the 'Kid's Room'.  There was a huge air hockey table in it that just sold, an enormous cubby unit if anyone is looking for a great storage piece for kids and there are still numerous collector's dolls and toys to be sold - at a great price! Come by the store and check them out! Although the green was perfect for kids, it was the first thing that was going to have to go! A little too 'electric' for what I was planning!

This space has one extremely high wall, a couple of angled corners, an open ceiling with a bar running at an angle . . .


and two windows in one wall which look into the main sales area.

I went to the paint stores in search of a good neutral color - not too dark but dark enough to show off all the furniture I paint white!  Looking through mountains of paint chips there was no color that I liked more than the color I used to have on the walls in my space at Melange when I was there, so I decided to go to Restoration Hardware and check out 'Silver Sage' - a kind of gray-blue-green!

 
That's it in the bottom right hand corner!  With paint chip in hand, I went to the nearest Lowe's and had the nice guy at the counter color match the paint swatch - not sure it saved me that much money since I had to buy premium paint in order to cover the lime green!  But at least I got it in eggshell finish - not a choice at Restoration!

The floors are cement, with a kind of gripper texture on them - kind of a nightmare since they 'grip' dirt!  I swept the floors and around the baseboard areas to get rid of anything that may drift onto the wet paint.  Then mopped up as much of the grime as I could get!


The floor looked pretty good so I started painting the walls around the edges - wherever the paint roller would miss - nooks and crannies and corners!

 Each time I reloaded my paint roller, I also swished the mop head over the floors thinking the wet would loosen some of the year old dirt.  I think I got it as clean as it was going to get - but I kept the wet mop handy for any paint drips!

 Then I proceeded to the walls - I was doing great but the six foot ladder I had was not tall enough to reach all the way to the top corners of that gigantic wall!  I finished painting over all the green and arranged to pick up an 8 foot ladder tomorrow! After washing out all the brushes, I thought 'Why didn't I check the height of the room before I started?!' Oh well! Lesson learned - you only have to wash out the brushes and rollers once if you've done your homework! See you tomorrow after day two - finish painting and  . . .

Monday, October 1, 2012

One Shelf - Two Ways!

It's amazing how refinishing something changes the whole personality of a piece.  
My friend, Valerie, was looking for a shelving unit 
to put in her dining room to display her platters and other dishes. 
I was looking for the same type of shelving unit 
to use for my fall and holiday displays at the store.
We each purchased one of these shelves and set to work refinishing.

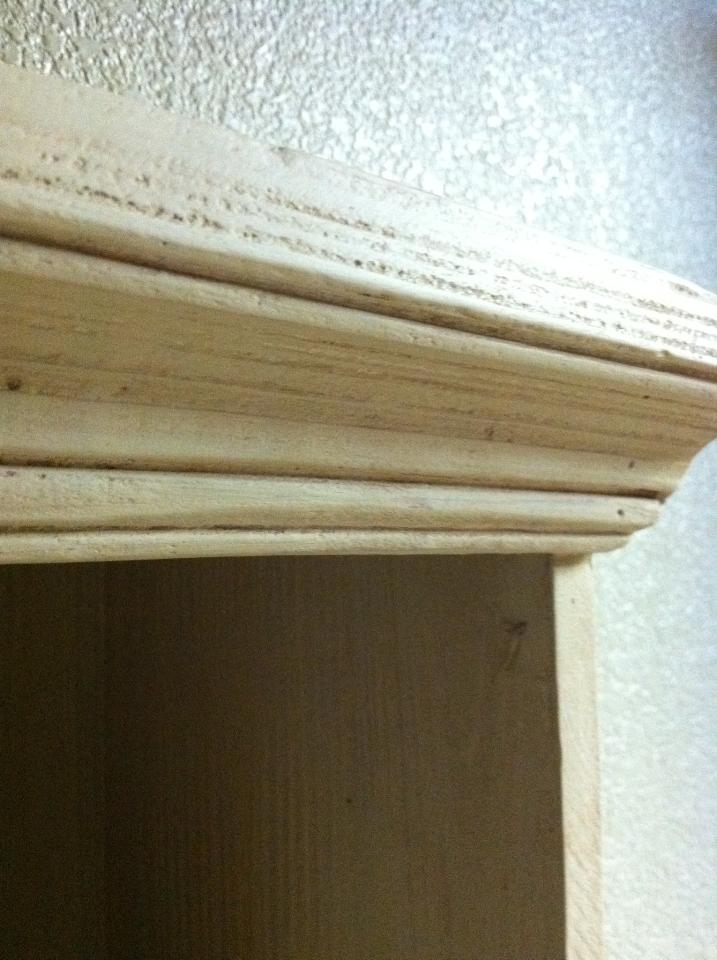
Valerie removed the top scalloped board to give the shelf a more streamlined look, in keeping with her style - such a great idea!  Self - customized!!

Then Valerie painted hers a creamy light green to match her wall color 
and added a dark glaze over the paint to give a subtle antiquing effect.  
Valerie wanted a refined country look!

Now she has a beautiful shelf which enhances her white dishes 
and makes them pop on display!

I painted my shelf with Annie Sloan's Emperor's Silk (Red)
chalk paint. . .

 and then finished with dark wax to really bring out the details
in the rough finish wood.  The dark wax settled into the grooves
and pits, and added an antique look to the shelf.
I wanted a cozy hunting cabin look! 


Now I have a display shelf in my space at Fabulous Finds that will take me from the warm colors of fall to the reds and greens of the holidays! 

Even though both shelves started the same, 
they now have their own personality and style
to match the needs of the rooms in which they hang.
Isn't that what decorating is all about?!