Showing posts with label Bastille Day. Show all posts

Friday, July 15, 2011

Before and After: Roll Top Desk

This roll top desk was in pretty good shape when I found it 
but the varnish was starting to dry up and flake off.  
I was going to sell it "as is" but I really wanted to shabby it!

It is really sturdy and the roll top works perfectly -
a great candidate for a makeover!  The polished brass knobs had to go.
I'm going to replace them with some glass knobs from my collection.

The inside of the desk was in great shape as well - but again, those shiny brass plates on the front of the drawers weren't going to look so great once I painted this desk white!  I love the main drawer handle - it is carved wood so that will just get some white paint and little sanding- no need to replace it with that detail.

So I sanded and painted and sanded some more until all the wood was shabbied!  Then I set to work on the plates - a light sanding and then primed and dried.  I thought the gray primer color would look pretty good but it was too severe.  So I painted the plates and screw heads with a light gray spray paint and reattached them.

Next onto the knobs!  The knobs can make or break a piece - I first tried pink knobs but I didn't think the pink looked that great on a roll top - perhaps on a desk with some ornate carving.  Then I tried some antique green glass knobs I had - green may limit the buyers and I was doing this piece for resale.  So I went back to basic clear glass knobs.  I had three different kinds; flower, beaded edge and star. I finally settled on the star ones.

So with the plates and the knobs back on I just had to finish sanding
the inside desk area again so it was nice and smooth.  
 A dry paintbrush works great for dusting out all the dust from sanding.

With the lid closed, I sanded the ridges of the roll top so they would be shabbied, too.  You can see the nice carving in the drawer handle here.

This desk is ready for a new owner to cherish!
The solid oak desk has received a fresh makeover and is ready for a new home.

As the sun sets, I load the desk into the car, 
ready to take to Melange for our Bastille Day Sale!

Come on by if you are in the area and have some French treats 
- and maybe you will win one of our gift baskets!!

I'm linking up to these parties - check them out!


Smart and Trendy Moms


The Shabby Nest

Thursday, July 14, 2011

How-To: Easy "Paris" Banner

Happy Bastille Day!!  I love everything French and today is a day the French celebrate!  I made a "Paris" banner to celebrate - I could have done it in Red, White and Blue since those colors are France's national colors, but I already have one of those for Fourth of July!
 So I decided to go with the more popular pink, white and black 
colors for a Parisian Theme. 
Banners or garlands make everyday occasions extra special.
Here's an easy way to create a banner.
                                                                   
 
First, cut out a basic shape out of card stock for each letter that your banner is going to spell out.  I am going to make a banner that spells "Paris" so I needed five shapes.  You can use a Cricut machine to cut these out if you have one.  The shape can be a square, diamond, rectangle, circle - whatever you like that will fit the theme of your banner!  I like to use cereal boxes - the thickness of the cardboard is perfect and I always have a box with just a little left in it I can dump into another cereal!  You can cover the cardboard with scrapbook paper or just spray paint all the shapes at once when you get them cut out!

Punch two holes with a standard hole punch in each shape about two inches apart.

Grab some glue - I used this kind for this project  because the tip allowed for a tiny stream of glue to come out at one time.

Squeeze a narrow stream of glue along about half the edge at one time and . . .

 . . . dip the glued edge into your choice of glitter.  Tap lightly the glittered edge with your finger to make sure the glitter sticks to the glue. Repeat to adhere glitter to the second half of the shape and then do the rest of them.  

 I used Recollections Tinsel Glitter here so it looks a little more vintage.  German glass glitter is also good to use as it will tarnish with time if you want that authentic 'vintage' look!

Next, grab some scrap scrapbook paper in a pattern you like and cut a small diamond shape out of it.  I used this paper because it already had perfect diamond-shape clusters all over it and it was pink which fit the look I wanted. I also cut it out using a wavy shape scissor instead of plain scissors so the cut would be more interesting.  You can cut out any shape for this step - I just wanted little diamonds!

Glue the diamond shape scrapbook paper pieces to the middle of each shape.

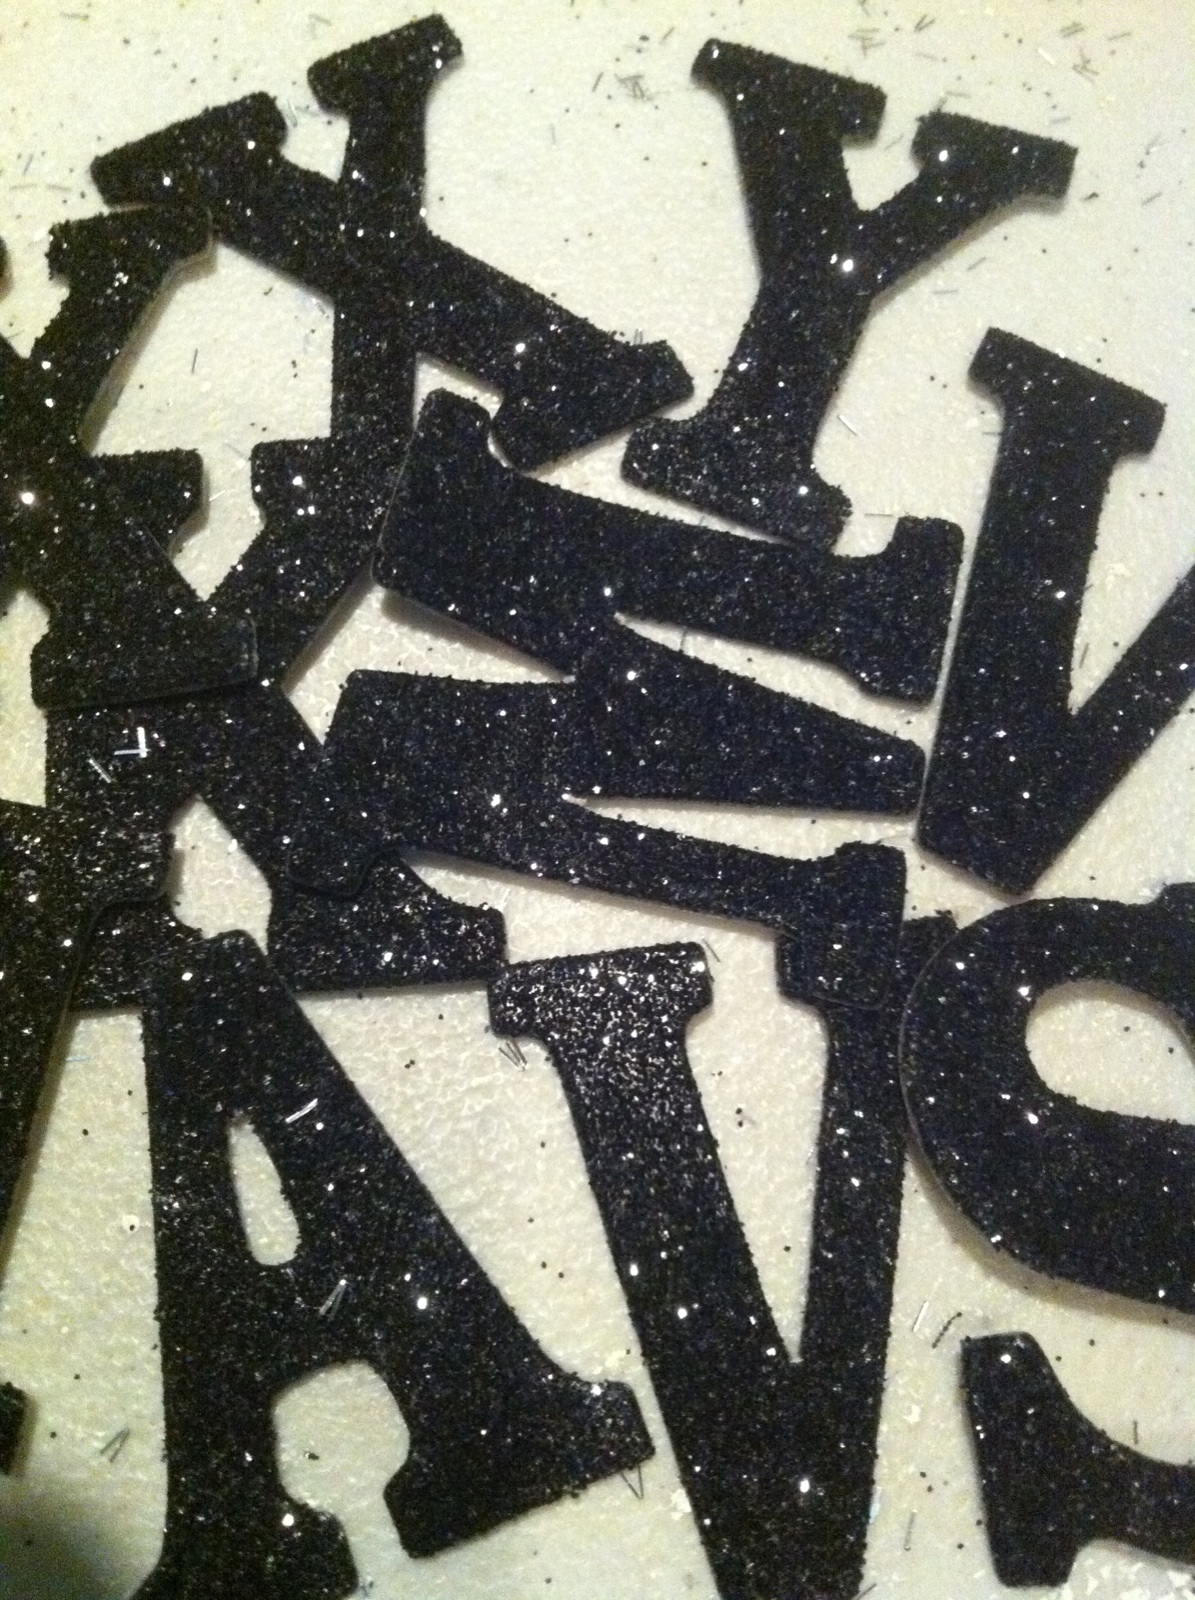
Find some glittered letters at your local craft store.  These come in lots of sizes and colors.  I am using black glittered letters for this project.  I have seen them in pastel colors, white glittered, red glittered, black glittered, etc.  

 You can print letters from your computer, like the letters on this banner,  and cut them out individually if you can't get to the craft store.  If you have a Cricut machine you can cut them out yourself or another option is to used rub-on letters but I suggest you rub on each letter before you add the glitter to the edges!

Glue one letter to each glittered edge shape - center it on the diamond and between the two holes you punched in the top to be sure it reads right when you string the letters together.

Finally, string the letters together in order to make your word.  I used black tulle to string these letters together.  You can use ribbon, jute, fabric scraps, shoelaces, just about anything to string your letters together to add character to your banner.  
My theme was Oooh La La "Paris" for this banner so frou-frou tulle was perfect! 
Make sure you cut a long enough piece to tie the ends to whatever you are hanging your banner on and enough to add bows if you like!  
I love making these banners and have several for sale at Melange
I have also made them for gifts and it is a gift the receiver seems to cherish!

I am linking up to these parties so check them out!

Fireflies and Jellybeans: Show Off Your Stuff Party

Somewhat Simple: Thursday Do It Yourself Party