Showing posts with label Fourth of July Decor. Show all posts

Thursday, July 14, 2011

How-To: Easy "Paris" Banner

Happy Bastille Day!!  I love everything French and today is a day the French celebrate!  I made a "Paris" banner to celebrate - I could have done it in Red, White and Blue since those colors are France's national colors, but I already have one of those for Fourth of July!
 So I decided to go with the more popular pink, white and black 
colors for a Parisian Theme. 
Banners or garlands make everyday occasions extra special.
Here's an easy way to create a banner.
                                                                   
 
First, cut out a basic shape out of card stock for each letter that your banner is going to spell out.  I am going to make a banner that spells "Paris" so I needed five shapes.  You can use a Cricut machine to cut these out if you have one.  The shape can be a square, diamond, rectangle, circle - whatever you like that will fit the theme of your banner!  I like to use cereal boxes - the thickness of the cardboard is perfect and I always have a box with just a little left in it I can dump into another cereal!  You can cover the cardboard with scrapbook paper or just spray paint all the shapes at once when you get them cut out!

Punch two holes with a standard hole punch in each shape about two inches apart.

Grab some glue - I used this kind for this project  because the tip allowed for a tiny stream of glue to come out at one time.

Squeeze a narrow stream of glue along about half the edge at one time and . . .

 . . . dip the glued edge into your choice of glitter.  Tap lightly the glittered edge with your finger to make sure the glitter sticks to the glue. Repeat to adhere glitter to the second half of the shape and then do the rest of them.  

 I used Recollections Tinsel Glitter here so it looks a little more vintage.  German glass glitter is also good to use as it will tarnish with time if you want that authentic 'vintage' look!

Next, grab some scrap scrapbook paper in a pattern you like and cut a small diamond shape out of it.  I used this paper because it already had perfect diamond-shape clusters all over it and it was pink which fit the look I wanted. I also cut it out using a wavy shape scissor instead of plain scissors so the cut would be more interesting.  You can cut out any shape for this step - I just wanted little diamonds!

Glue the diamond shape scrapbook paper pieces to the middle of each shape.
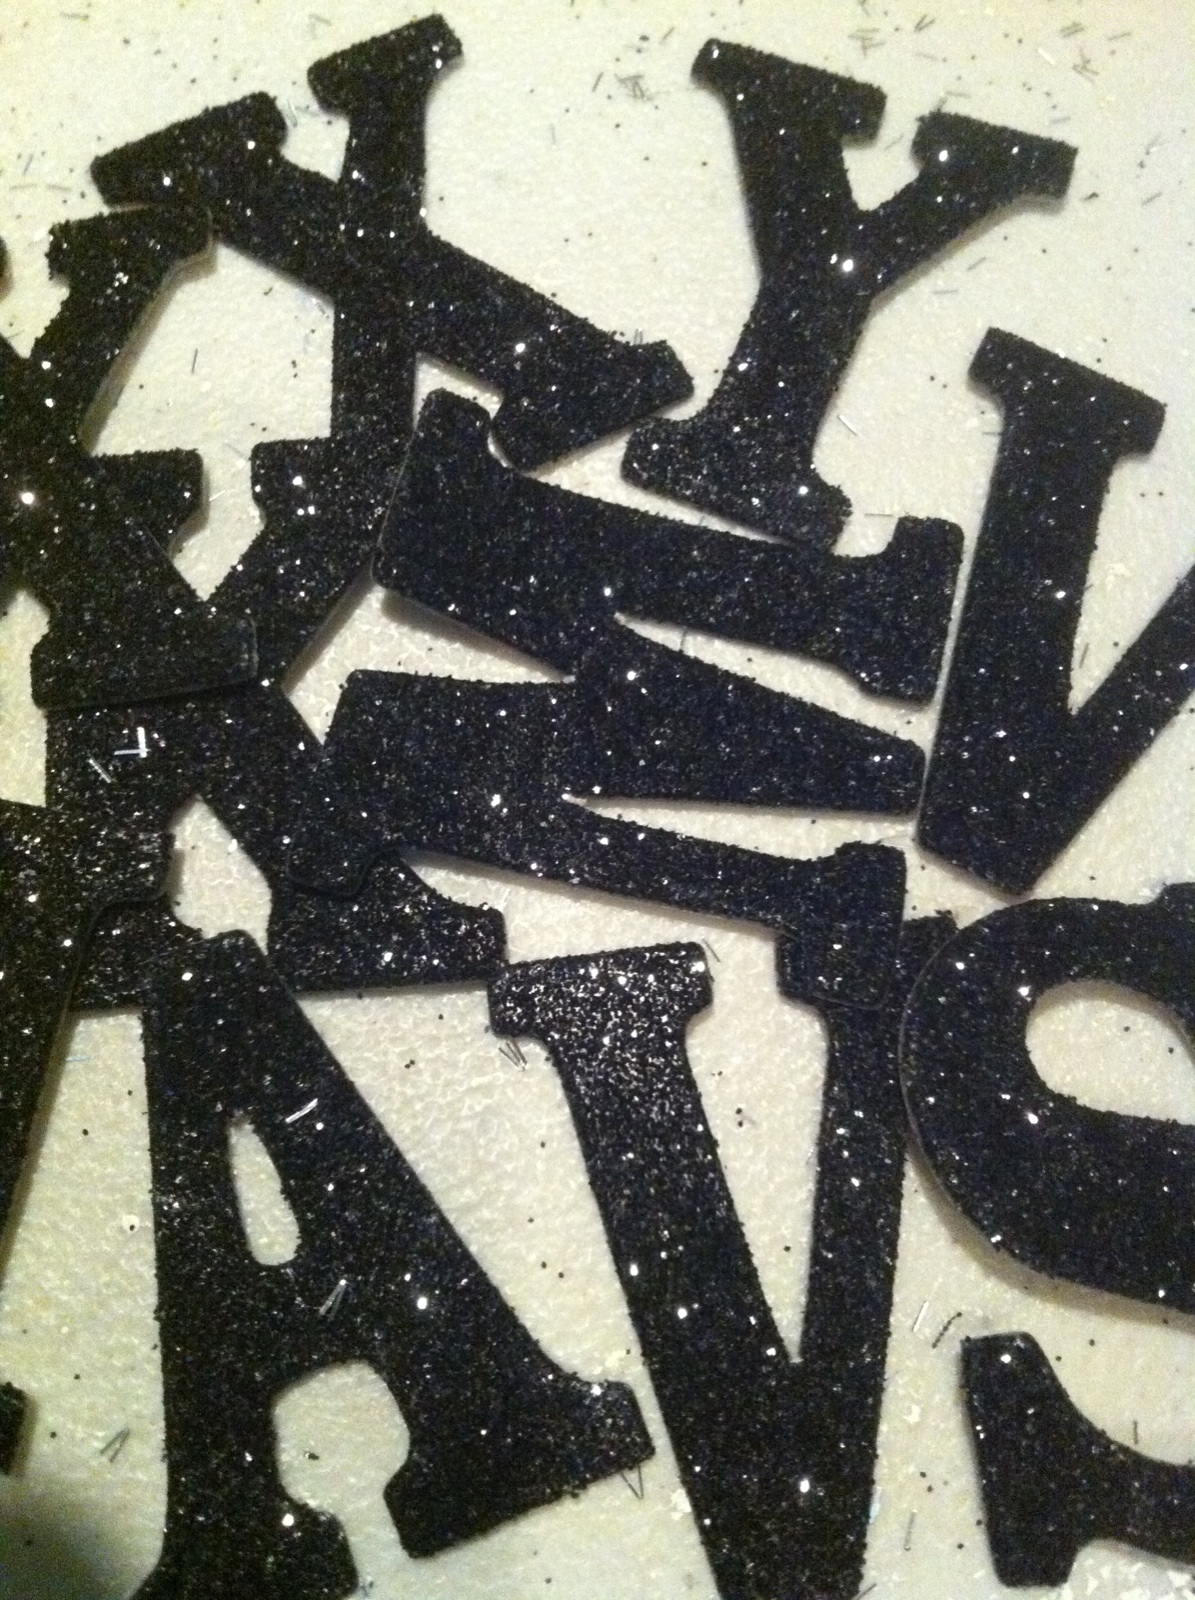
Find some glittered letters at your local craft store.  These come in lots of sizes and colors.  I am using black glittered letters for this project.  I have seen them in pastel colors, white glittered, red glittered, black glittered, etc.  

 You can print letters from your computer, like the letters on this banner,  and cut them out individually if you can't get to the craft store.  If you have a Cricut machine you can cut them out yourself or another option is to used rub-on letters but I suggest you rub on each letter before you add the glitter to the edges!

Glue one letter to each glittered edge shape - center it on the diamond and between the two holes you punched in the top to be sure it reads right when you string the letters together.

Finally, string the letters together in order to make your word.  I used black tulle to string these letters together.  You can use ribbon, jute, fabric scraps, shoelaces, just about anything to string your letters together to add character to your banner.  
My theme was Oooh La La "Paris" for this banner so frou-frou tulle was perfect! 
Make sure you cut a long enough piece to tie the ends to whatever you are hanging your banner on and enough to add bows if you like!  
I love making these banners and have several for sale at Melange
I have also made them for gifts and it is a gift the receiver seems to cherish!

I am linking up to these parties so check them out!

Fireflies and Jellybeans: Show Off Your Stuff Party

Somewhat Simple: Thursday Do It Yourself Party

Sunday, July 3, 2011

Fun 4th of July Cupcakes!

Looking for something new for dessert to surprise your 4th of July guests? Here's a easy, fun, quick idea! Remember those Pop Rocks candies you would eat straight from the little envelope that came in, that exploded in your mouth?


How about using them for your "sprinkle" decorations on some cupcakes? 
Just bake some cupcakes . . 


Frost them with your favorite frosting and put in the refrigerator 
or set them aside until ready to serve.
                                                           

Then right before serving - sprinkle the "pop rock candies" on to the top of each cupcake . . .


. . . add an American Flag pick to each cupcake and serve!  

 Your guests will get a mini-explosion in their mouths with each bite!  Pop Rocks come in many different flavors which are different colors.  I used Cherry flavored here so I had red sprinkles.  Some of the pop rock candies will pop right when you put them on the frosting so the 'sizzle'  and the 'popping explosion' both add to the fun of the 4th! 
Enjoy and Happy Fourth of July!

http://www.tipjunkie.com/images/TipMeTuesdayButton1.png

Friday, June 24, 2011

Quick Change: Red, White and Blue!

Welcome to my living room!  Well, its not exactly 'dressed' yet in this picture!  I was lucky enough to get new furniture this past year and I decided I would go with a neutral 'palette' that would make it easy to decorate for the holidays.  I LOVE to decorate for the holidays and when the boys were young, they loved coming home from school and seeing the house transformed.  Now that they are out of the house, I needed to find a way to decorate a little simpler, since I do not have so many hands to help anymore!
The neutral couch would be perfect for changing out pillows, the coffee table will get a runner and centerpiece, and the small shabby shelf above the couch, could hold some seasonal trinkets.  The shelf holds small, cherished photos of my grandparents all the time, but it has space for a few treasures!


  I found the vintage bicentennial tin plate with an eagle on it at a thrift store so I put it on the small gold easel.  The salt glazed pitcher and a deep red candle in a pewter candlestick add a bit of color and the metal star from Joann's Fabric Store balances the bright red of the candle. 

The coffee table vignette!  I first placed a neutral linen tablecloth I found at Homegoods, down the middle of the table.  Next came the vintage piecrust pedestal mirror - I found it that day with Margaret at the Sacramento Antique Fair.  I was so excited when I saw it because it was the nicest one I had seen in years, and in years - I had to have it for my collection. The deal was sealed when the kind lady came down $20 from her original asking price!  I added a vase, darling little crystal creamer, apothecary jar and a red vintage candy dish - to which I added (in order!) some flags and a baseball, penny candy sticks, red, white and blue poker chips, and a family favorite - Hershey's Kisses in the candy dish!

Fourth of July is enchanting for children . . .and adults!  It just brings out the child in all of us thus the reason I had to add some of my cherished collection of Boyd's Bears to my decor.  This red bear sits atop a vintage ammunitions box topped with a vintage lace hankie.  I painted the flag table years ago when three other neighbors and I all had toddlers at home.  We did country craft shows together and called ourselves 'Four Friends' - cherished memories!

Now for my quick change pillows!  I took a plain red and white striped pillow. . .

. . . and laid a large star-spangled cloth  napkin on an angle over the top of the pillow.  I folded the napkin back over the top of the pillow and safety pinned it to the back of the pillow, making sure the safety pins wouldn't show. By using safety pins, I can remove the napkin and change it out to a different one for a different season!  I needed to secure the napkin to the front of the pillow so something that will be pretty since it will show . . .

I dug into by jewelry box for some brooches!  I used a vintage sun brooch to pin down the point on the top of the pillow. Luckily, I had two sun brooches for my two pillows.  Star brooches, or even rhinestone brooches would work for the Fourth of July!  Done! You can adapt this method to any holiday.  The red and white striped pillows do triple duty for me - I can leave them as they are for a nautical look or for a candy cane Christmas! But the addition of a colorful napkin affixed with a vintage brooch and the pillows are only limited by your creativity!

Here's a close up of my other sun brooch!

Abracadabra! The quick change is complete!  A tall tin flower pitcher filled with red geraniums and white mums grounds the coffee table centerpiece.  I found the blue denim print pillow at The Tattered House, the fleur-de-lis pillow at Restoration Hardware and the red pillow with the shell accent at Homegoods.


 As empty nesters, my husband and I have lots of quiet times in the house.  The days of three boys running in and out the doors are gone for now and we can display mercury glass candlesticks on our fireplace hearth which we would never have done when they were all at home.  A photo and the teddy bear are reminders of those wild Fourth of July's when we saw sparklers and smoking snakes scar our patios. 
So from all of us, to all of you - have a Cherished Fourth!