Showing posts with label handmade signs. Show all posts

Thursday, July 14, 2011

How-To: Easy "Paris" Banner

Happy Bastille Day!!  I love everything French and today is a day the French celebrate!  I made a "Paris" banner to celebrate - I could have done it in Red, White and Blue since those colors are France's national colors, but I already have one of those for Fourth of July!
 So I decided to go with the more popular pink, white and black 
colors for a Parisian Theme. 
Banners or garlands make everyday occasions extra special.
Here's an easy way to create a banner.
                                                                   
 
First, cut out a basic shape out of card stock for each letter that your banner is going to spell out.  I am going to make a banner that spells "Paris" so I needed five shapes.  You can use a Cricut machine to cut these out if you have one.  The shape can be a square, diamond, rectangle, circle - whatever you like that will fit the theme of your banner!  I like to use cereal boxes - the thickness of the cardboard is perfect and I always have a box with just a little left in it I can dump into another cereal!  You can cover the cardboard with scrapbook paper or just spray paint all the shapes at once when you get them cut out!

Punch two holes with a standard hole punch in each shape about two inches apart.

Grab some glue - I used this kind for this project  because the tip allowed for a tiny stream of glue to come out at one time.

Squeeze a narrow stream of glue along about half the edge at one time and . . .

 . . . dip the glued edge into your choice of glitter.  Tap lightly the glittered edge with your finger to make sure the glitter sticks to the glue. Repeat to adhere glitter to the second half of the shape and then do the rest of them.  

 I used Recollections Tinsel Glitter here so it looks a little more vintage.  German glass glitter is also good to use as it will tarnish with time if you want that authentic 'vintage' look!

Next, grab some scrap scrapbook paper in a pattern you like and cut a small diamond shape out of it.  I used this paper because it already had perfect diamond-shape clusters all over it and it was pink which fit the look I wanted. I also cut it out using a wavy shape scissor instead of plain scissors so the cut would be more interesting.  You can cut out any shape for this step - I just wanted little diamonds!

Glue the diamond shape scrapbook paper pieces to the middle of each shape.
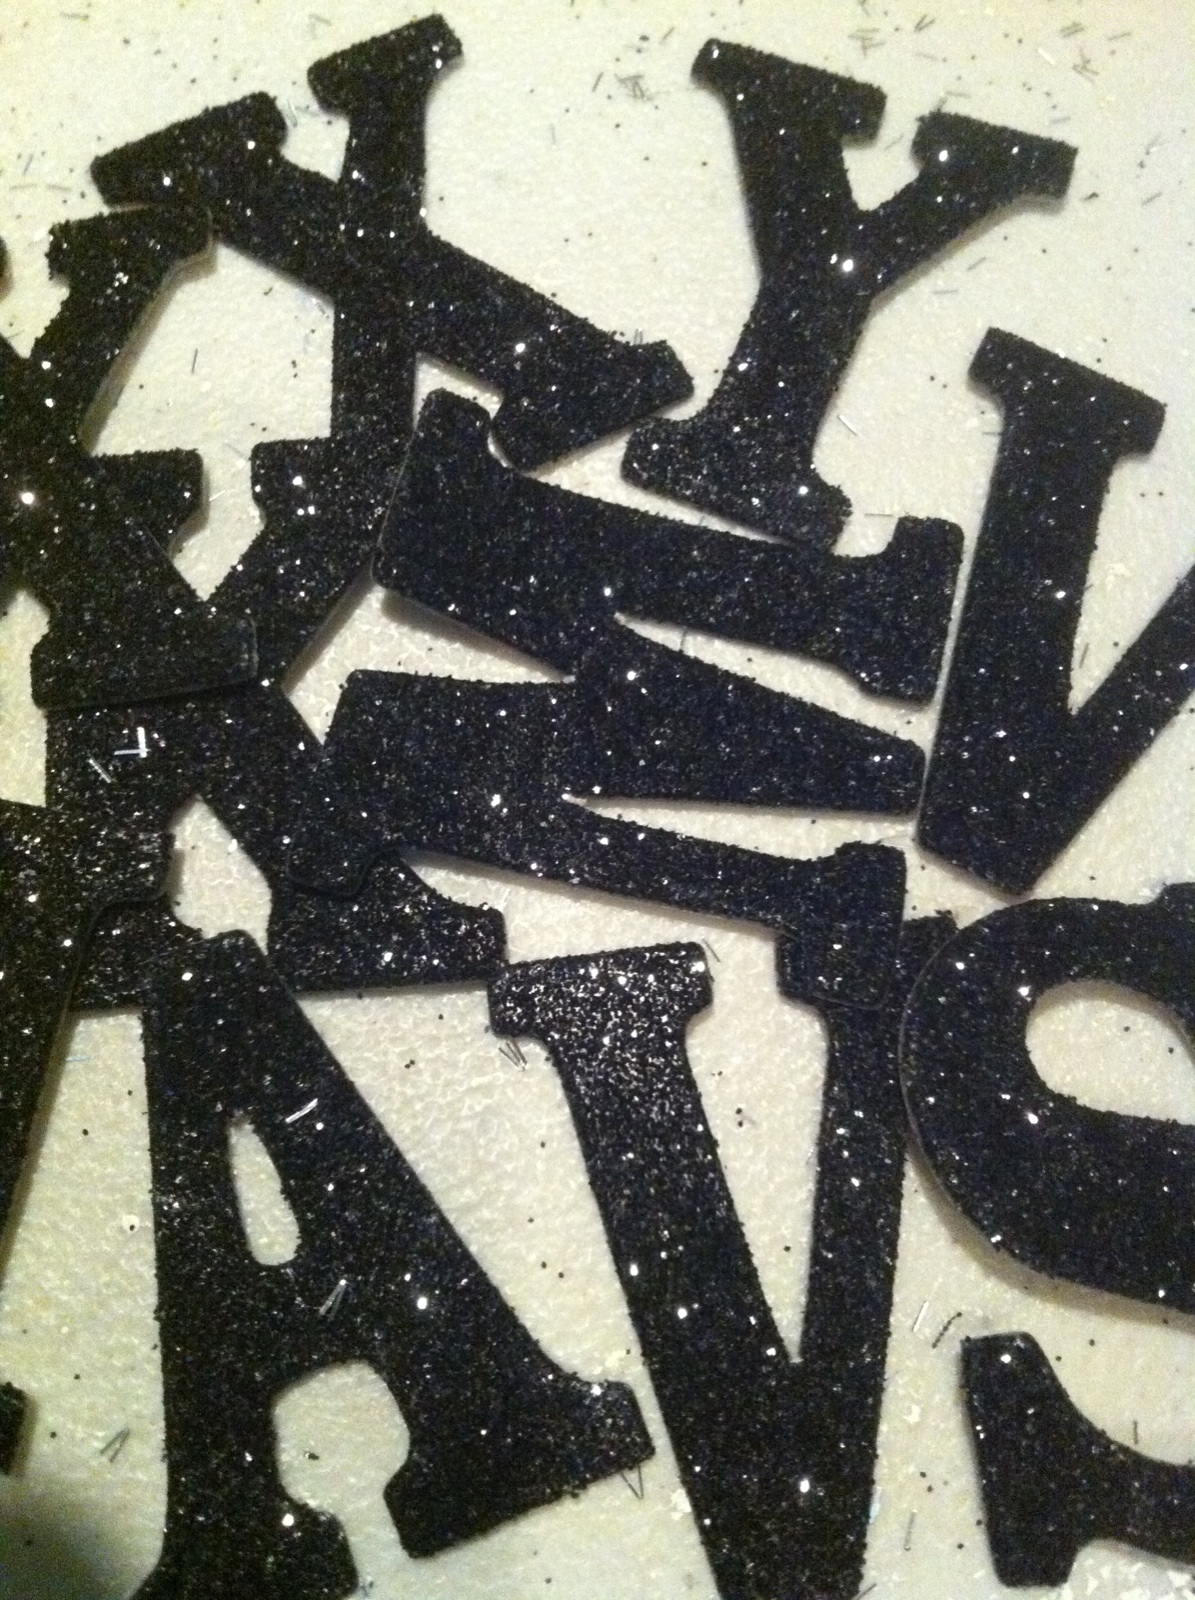
Find some glittered letters at your local craft store.  These come in lots of sizes and colors.  I am using black glittered letters for this project.  I have seen them in pastel colors, white glittered, red glittered, black glittered, etc.  

 You can print letters from your computer, like the letters on this banner,  and cut them out individually if you can't get to the craft store.  If you have a Cricut machine you can cut them out yourself or another option is to used rub-on letters but I suggest you rub on each letter before you add the glitter to the edges!

Glue one letter to each glittered edge shape - center it on the diamond and between the two holes you punched in the top to be sure it reads right when you string the letters together.

Finally, string the letters together in order to make your word.  I used black tulle to string these letters together.  You can use ribbon, jute, fabric scraps, shoelaces, just about anything to string your letters together to add character to your banner.  
My theme was Oooh La La "Paris" for this banner so frou-frou tulle was perfect! 
Make sure you cut a long enough piece to tie the ends to whatever you are hanging your banner on and enough to add bows if you like!  
I love making these banners and have several for sale at Melange
I have also made them for gifts and it is a gift the receiver seems to cherish!

I am linking up to these parties so check them out!

Fireflies and Jellybeans: Show Off Your Stuff Party

Somewhat Simple: Thursday Do It Yourself Party

Wednesday, June 29, 2011

Sara's Vintage Baby Shower

Frogs and snails and puppy dog tails - that's what little boys are made of!
This vintage themed baby shower is full of creative uses of vintage treasures!
 A group of friends and sisters pooled their creative energy 
to stage a gorgeous shower on a beautiful Friday evening, for my niece Sara,
who loves all things vintage, and is having her first baby!

  The gift table welcomed guests as they entered the garden setting at a friends home.  A vintage suitcase is ready to receive cards for guests who chose to go in on the group gift.  The "Gifts" sign is clothes-pinned with a lace doily to the suitcase, which is lined with a vintage napkin.

photo courtesy of Lacey C. Photography
A vintage baby scale sits at the other end of the gift table.
Above the gift table, a clothesline of vintage hankies fluttered in the soft summer breeze.

Guest of honor, Sara, was beaming as she arrived for the shower.

A shabby yellow service cart from the fifties, holds the vintage green plaid ice bucket and the canning jars until the guests arrive.  Another vintage napkin with floral embroidery details formalizes the otherwise casual cart.

The glassware was moved to this table when the guests arrived.  A white metal bucket was given a floral decal to match the sunny floral tablecloth.  

Photo courtesy of Lacey C. Photography
 The vintage berry baskets hold the beverage napkins nicely and the daisies came from Sara's parents home.

Vintage glass shower dishes were stacked in piles on another vintage cart.  Sara's mother, Janie, and Sara's sister-in-law, Carianne, provided all the vintage floral tablecloths. 

The hydrangeas in the yard were at different stages of bloom, but added the perfect punch of color to the garden setting!

The dessert buffet was lined with a mix of vintage dishware and shabby serving pieces - from Jadite to LuRay, they sit at attention waiting to receive their subjects!

Seating was around round tables dressed in white rented tablecloths 
with vintage tablecloth toppers.  
Centerpieces were large mason jars filled with roses, hydrangeas and daisies.

 The stage was set for the special guest to open her shower gifts.  A vintage chair was draped with a soft throw, and Jessica hand made a paper garland announced "It's a Boy" in the vintage nursery colors: seaglass, mustard yellow, taupe and cream.

 A wire basket holds game supplies ready and with a vintage kitchen scale,
adds to the theme.

Bamboo poles stuck in rock filled buckets, 
held the banner aloft over the mom-to-be's chair.
Ribbon streamers, tied to the ends, gracefully danced in the slight wind.

A vintage stroller was positioned next to the chair and seemed to say,
"Come on out boy! We're ready if you are!" 

 
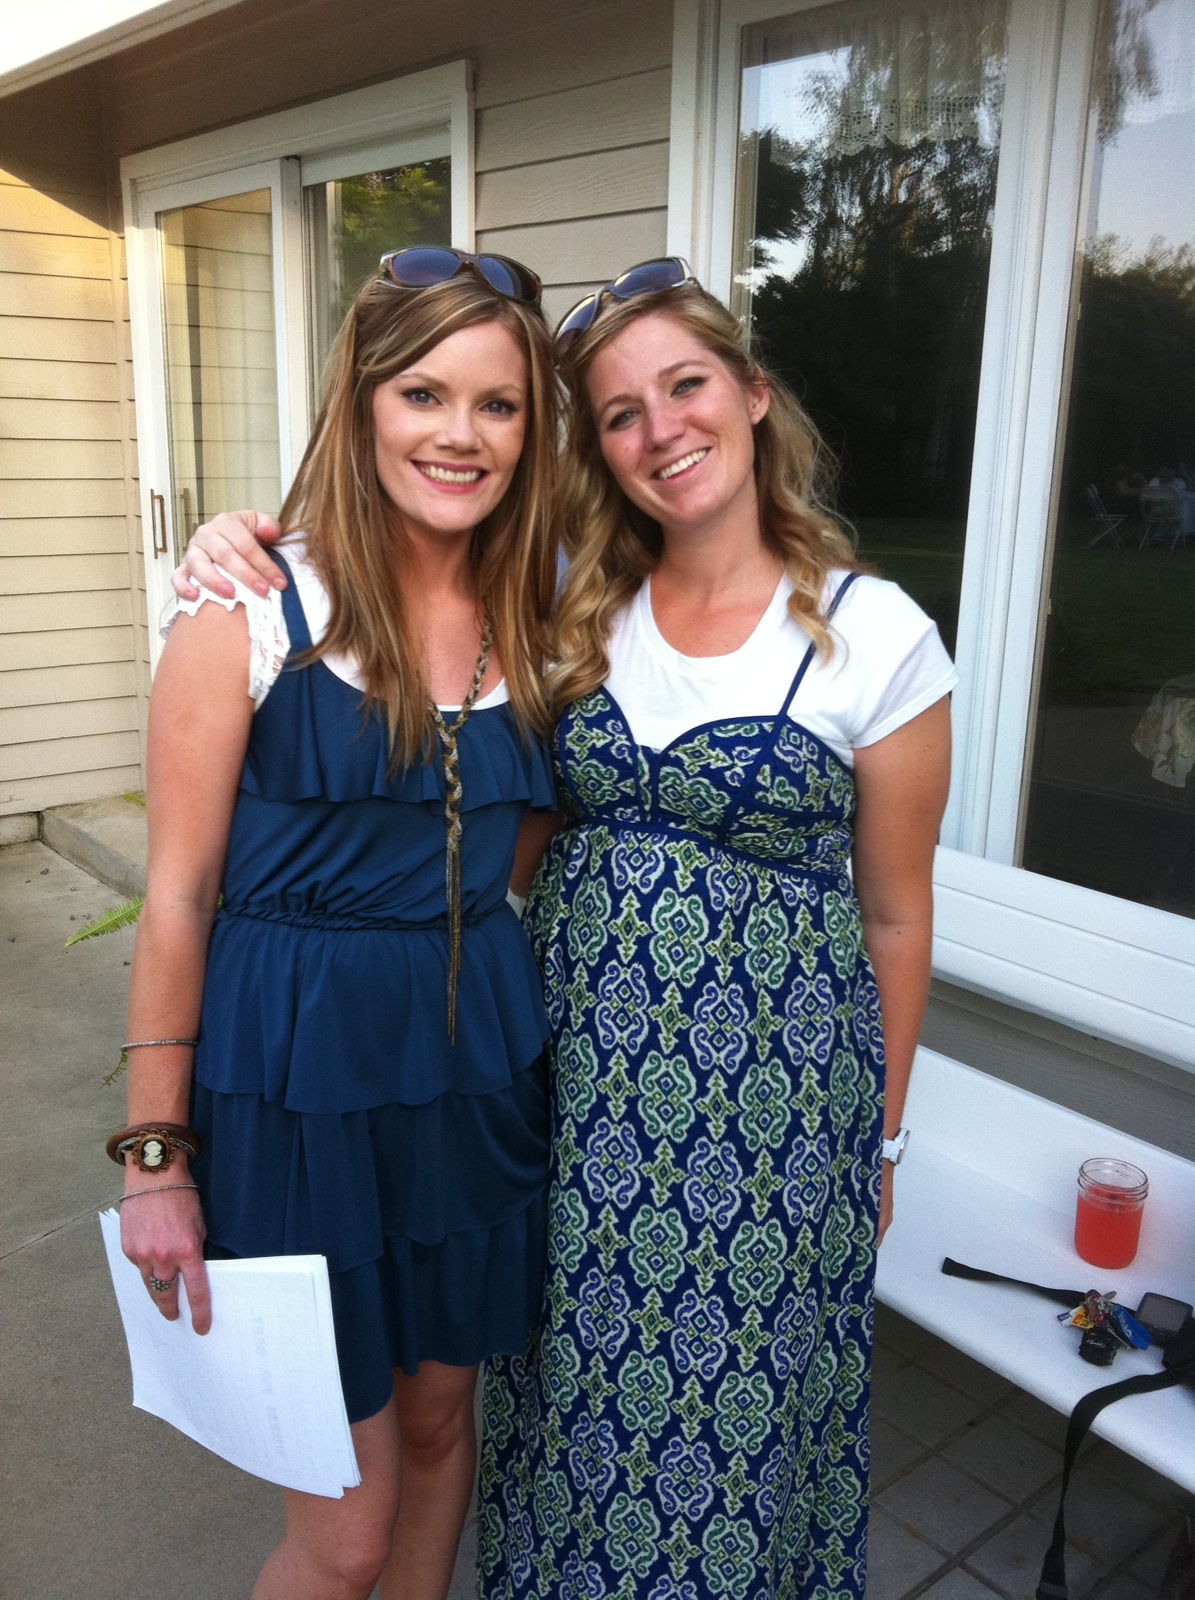
Jessica and Lacey pause for a picture before starting the games!

While the guests were arriving - the desserts were set out. Even baby Caleb arrived sporting a vintage romper - he can't wait to meet his new boy cousin!

A sweet feast awaited the guests!  The dessert buffet included double chocolate pecan brownie bars, individual blackberry tarts, shortbread cookies topped with cream fraiche and strawberries, caramel brownies, and neighbor Dianna's famed Serendipity - a luscious chocolate cookie crust bar with whipped cream filling and a chocolate glaze.

Lacey and her sisters made Cake Pops and decorated them in Sara's nursery colors!

Beverages included ice cold water with cool cucumber slices and a strawberry lemonade punch.  The large glass decanters fit perfectly on the yellow cart with the canning jar glassware moved to the table.

Guests filled their plates and ate the decadent treats while Sara opened her gifts.  This little guy, Karam, sure enjoyed his cake pop!

My favorite dessert was the individual berry tarts.  The crust was a perfect blend of sumptuous flavor and texture, the berries were absolutely perfectly ripe, and the little crust heart tucked into each tart added the perfect finishing touch!

One look at this picture and you can see why they are called 'showers' as Sara is clearly 'showered' with gifts for her new little boy!!

A vintage doll stroller for the nursery decor!!


As Sara opened gift after gift, no doubt the older guests thought back to their own showers and the younger guests thought about the showers that would be held for them in the future. 

 Sara poses with the shower planners - Julie, Lacey, Jessica, Dianna, MaryAnn and Carianne.

 With the gifts opened it was time for Sara to enjoy a cake pop!  
The baby shower is a cherished tradition and it won't be long until 
Sara has her new bundle of joy whom she will cherish as well!

Tuesday, May 24, 2011

Aunt Peg's Gift

What birthday gift do you get for someone who can buy anything?  That was the dilemma I faced when invited to my Aunt Peg's Birthday luncheon!  So I decided a handmade gift would be best - I had just been to the Sacramento Antique Fair and found this weird looking bag and was intrigued so I asked the lady about it.
Turns out this is a Water Bag - up until even the early 1950's, travelers crossing the desert would soak these canvas bags and fill them with water and then hang on the outside of thier cars in front of the radiators.  The evaporating water would blow in towards the radiators and keep the engines cool, in order for them to make it across the hot desert.   Aunt Peg has an old 1934 Plymouth that she and Uncle Bill enter in parades and I thought, this would be a nice addition to their hobby and quite a conversation piece.  As you can see from the photo, all the original lettering on the bag was worn off so I repainted a personalized version for them on the bag.
Uncle Bill and Aunt Peg's last name is Madsen and the  "W&P Brand" stands for "William and Peg"
This bag is about 14" wide by 11" tall so it was a pretty quick project - it will be a conversation starter between the old car enthusiasts - after the cars are driven in the parade, they usually line them up and then everyone walks around a checks out all the cars so I thought Aunt Peg and Uncle Bill needed a sign to display with their car and that would complete the gift.
So I went out to the shed and found an old dresser drawer board that was a perfect size, about 32" long and about 6 inches wide.  I painted the whole board an antique white after sanding it, sketched out the lettering, grabbed some black paint and went to work.
Aunt Peg and Uncle Bill's car is a 1934 Plymouth that they call "Welfare" - kind of a joke for them!  The sign just looked too fresh compared to the old Water Bag so it was time to antique the sign.
First step was to sand it down with a foam sanding block to make it look like it had worn with age.
Next, I mixed some glazing medium with some burnt umber acrylic paint.  The glazing medium makes the paint thinner so instead of an opaque paint , it is kind of translucent, and it also makes a nice finish, sealing the paint.
Next is the scary part!  I always hold my breath when I do this!  Basically you cover the whole project with the paint/glaze - my kids used to watch me do this and would say, "Mom! You're wrecking it!"  The glaze acts as an extender so you actually have more time to work with the paint!
Next, take a wet paper towel or wet rag and rub over the sign - I try to get it to stick in imperfections in the sign and then lift some away from the lettered parts of the sign -  also try to keep it a little darker with more antiquing on the edges.  I use a paper towel because then I can just throw it away and usually only need one!  There is no right or wrong way - just stop when you like the way it looks and then let it dry.
Last step - I added hangers to the back of the sign just in case Aunt Peg and Uncle Bill would ever want to hang the sign in their house.  Remember that most houses have 16" spacing between studs in walls so if you have a long sign, like this one, try to space your hangers 16" apart.
Now the sign matched the bag, both had a "worn" look!  I wrapped the gifts up and took them to the luncheon.  Aunt Peg loved these and said she and Uncle Bill were going to drive their car in the Red Suspender's Day Parade in Gridley, California, that weekend!
The "Madsen Line" rolls in the Red Suspender's Day Parade!
Bill and Peg Madsen and their cherished 1934 Plymouth rolled down the parade route sporting the new water bag - which turned out to be quite a conversation piece!