Wednesday, July 27, 2011

Before & After: Vintage 'Fashion Flow' Set

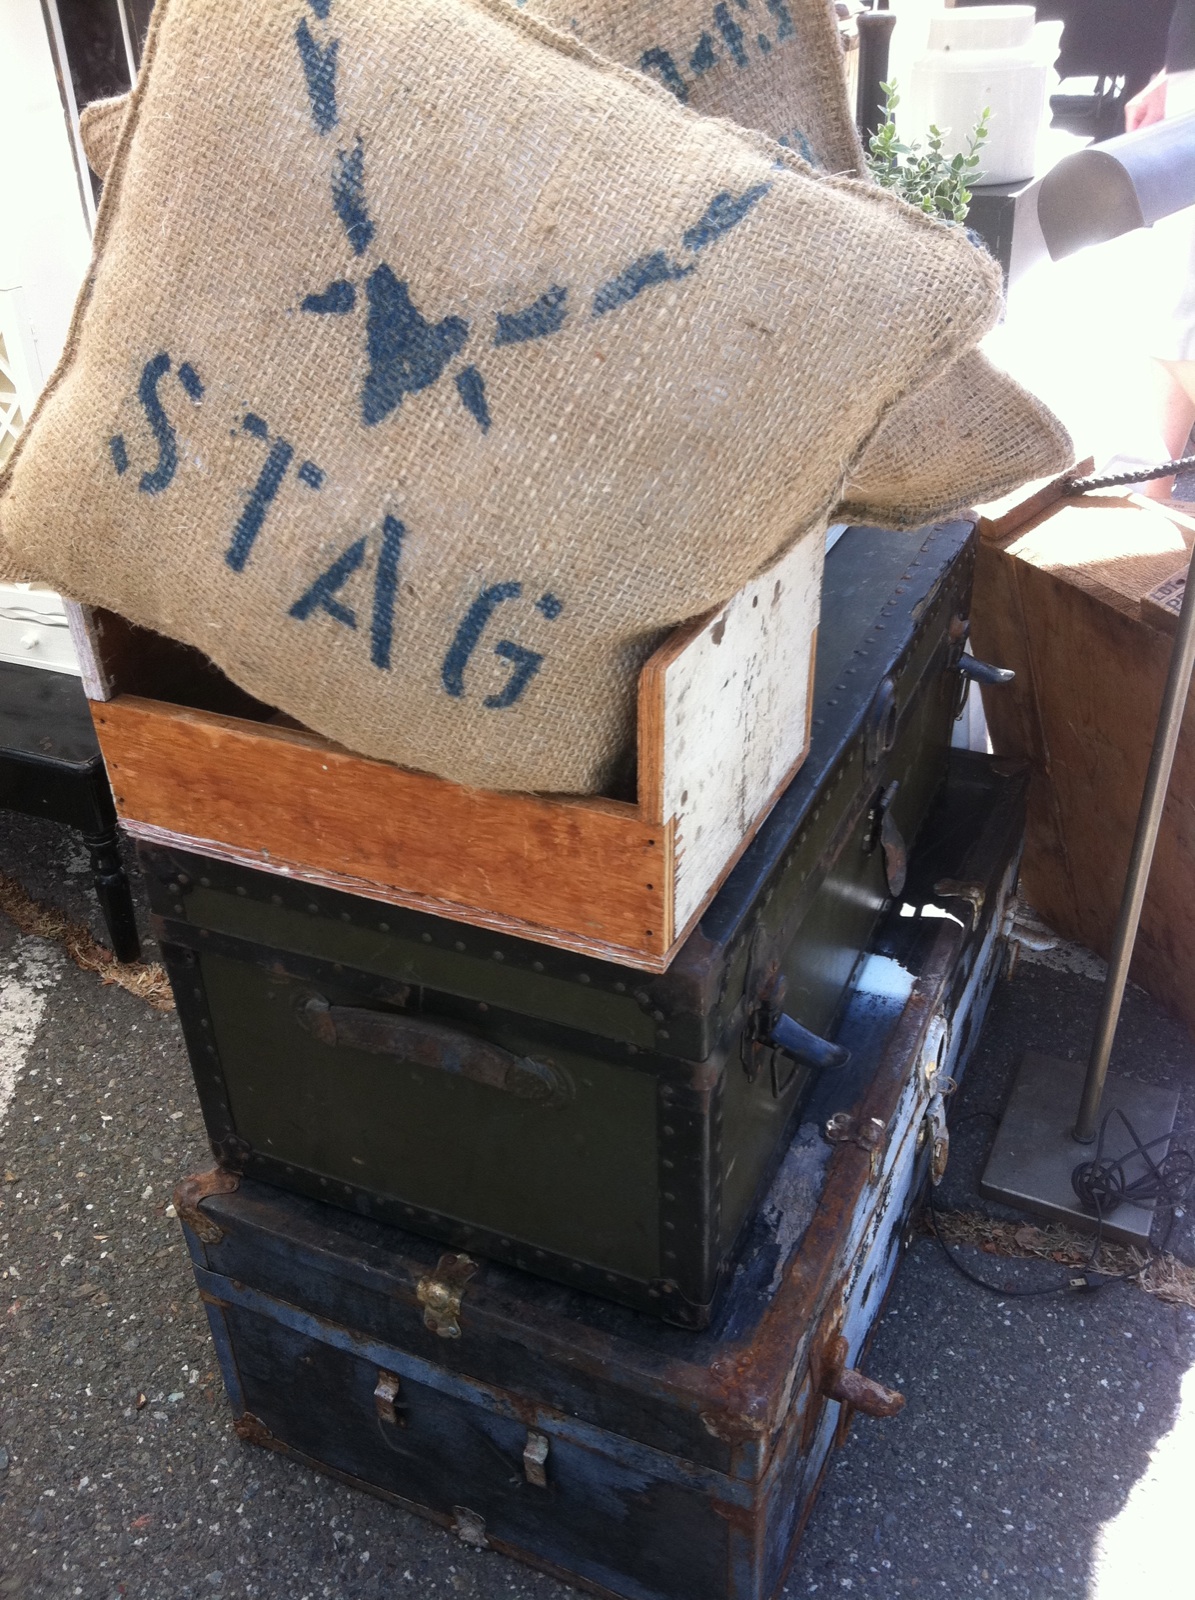
Walking through the aisles at the last Sacramento Antique Fair, I saw a stack of furniture that I had to go check out further.  There was a twin headboard, foot board and rails set up with a desk set up in the middle, and all the pieces of another twin bed sitting alongside. I fell in love with the vintage vibe of this set immediately!

These pieces all had metal cutwork accents: The head board and foot board had strips about 4" wide metal cut work accenting them.  The wood was a blond burl wood but had lost its finish and had lots of nicks and scratches on them.   

 I wasn't quite sure if this piece was a desk or a vanity until I found the beautiful beveled glass round mirror that went with the set.  There was also the little apron piece that held the mirror in place sitting in the pile! So I determined it to be a vanity but it could also be a desk if someone didn't want to use the heavy beveled mirror. The vanity had the same metal design under the drawers on each side.  This cut work metal design was also used for the cup handle hardware on the desk. 

This closeup really shows the condition of the wood - this desk/vanity was definitely well used.  Inside one of the top drawers I found a tag that read "Fashion Flow Furniture".  I looked it up on the internet and couldn't find much but did find an ad from 1937 - which I think fits about the era of this desk/vanity, and the dealer said she bought it at an estate sale in Reno.  So if any of you know anything about it let me know!  I debated whether I should restore the original finish to let the burl wood show through, but after closely scrutinizing it, I found the burl wood pieces were actually veneer so I started sanding it down and getting it ready for some paint magic!

Oops! this picture is upside down - still learning!! First step was to remove the hardware.  These had multiple layers of paint on them and the paint was chipped off in places.  I set them aside and sanded and primed the wood parts of the beds and the desk/vanity. 

While the primer was drying, I took some fine grit sandpaper to the hardware.  
These cleaned up well and looked like brand spanking new metal once I got done with them.  The multiple layers of paint must have protected them from rusting over the years. 
But the shiny metal wasn't going to look good with my shabby paint job, 
so I primed them and painted them white.

This close-up shows the desk/vanity all finished.  The cup pulls look great and repeat the pattern of the metal mesh at the bottom of the desk.  You can really see the mirror apron here and it also has that great metal mesh detailing. 

Here's a full front view of the refinished desk/vanity - I hadn't cleaned the mirror up yet!  A friend gave me the little vanity stool - I need to recover it since it is a little dirty but I am not sure if I want this one to stay with this vanity.  I have two more vanities I am working on and I like this stool better with another one!  Plus, this piece could actually be used as a desk so it may need a different type of chair.  What do you think?

The pair of beds will be great for two kids that share a room once I get done with them!

Multiple sandings to get the yellowed and cracked varnish off and then again after each coat of paint and I was able to get a smooth finish on these beds.

Then of course, another sanding to distress them when the painting was all done!

Here is one of the beds all finished!  The yellowed finished is now gone and the beds look fresh and ready for a new home!  I can just picture this set of twin beds in a pair of sisters' room with some of Rachel Ashwell's Shabby Chic comforters on them!  Oh - and some cute pillows!  I love pillows!!

And last, but not least, the desk/vanity WITH the mirror!!  I couldn't get a picture with the mirror outside because the mirror needs to have a wall behind it to support it.  It is now in my space at the store - you can see some of the little girl stuff in my space reflected in the mirror - but this vanity/desk would be perfect for any big girl as well - I hope it will be cherished by whomever takes it home because it has been one of my favorite pieces to refinish!  Who knows - I may just bring it back home and put it in my Hollywood room - after all - the 1930's were part of Hollywood's Golden Age!

I'm linking up to these parties!

http://missmustardseed.blogspot.com/2011/07/furniture-feature-friday-favorites-link_28.html


Monday, July 25, 2011

Tyler Florence Store - Mill Valley, CA

This past February, my sister was visiting from Florida and we spent a day in Napa Valley visiting Food Network Chef Restaurants!  One of her favorite Food Network chefs is Tyler Florence so we visited his store and learned he had just opened a new kitchen store in Mill Valley.  Unfortunately, we never made it there during her visit - but I made it there last weekend and the next time she is in town, I am definitely taking her for a visit!
One of my favorite aspects of shopping is looking at the way the merchandise is displayed, having a love for all that is creative and beautiful.  This store is visual eye candy for anyone who loves vintage things and gourmet food items - perfect marriage of both!

Vintage display pieces are everywhere!  Imagine my surprise when I saw this display of Brown Butter Cookies from my parent's hometown, Cayucos!  Sitting atop a vintage wine barrel and in the many cubbies were boxes of these one-of-kind cookie, topped with sea salt,  made in the little beach town in central California.  These cookies attracted a national spotlight when Marla Bautista, a reporter for That Morning Show on the E! Channel, visited and did a spotlight feature on the company.  Then the New York Times ran a blurb about the cookies which had the company filling orders around the country!

This display of butter yellow enamelware stood out nicely on the vintage ladder.  
Ladders are great for display. They are so versatile I have seen them used to hang towels in bathrooms, as a shoe rack in a closet, and even suspended from a ceiling 
with hooks added to the rungs to use as a pot rack!  
Since they fold up they are easy to store when you don't need them!

These traditional shelves were stocked with jar after jar of gourmet jams 
and jellies!  They looked like jewels all lined up with the various colors beckoning for all to take a closer look.

These hand poured paraffin and beeswax candles fit perfectly in this vintage pull cart. I love the way they clipped little signs onto the displays with a simple clothespin!

This display of patisserie themed dishes, napkins, paper plates, etc., welcomed all inside the front door.  I wanted those napkins down in the basket so badly for a cupcake party I am hosting later this summer, but the $9.95 price tag for 16 napkins was just a bit too pricey for me.  The glass cloches and pedestal plates were just gorgeous and I loved the Marie Antoinette inspired "Let them eat cake!" theme of this display!

These gorgeous wreaths were hand made from vintage cookbook pages.

My friend, Diedre, makes these wreaths and sells them at local craft fairs. But these wreaths had hefty price tags! I am sure to find enough vintage cookbooks to get enough pages to make one of these add to the cost - the small wreath in the top picture, about 10" in diameter was priced at $195. and the large wreath, about 22" in diameter was even more!  Now compare them to Diedre's -

This is the wreath I bought from Diedre for $28.00!  It is about 24" in diameter, is heart shaped and has a cute little tag on it that says "Je t'aime" - a much better deal!  Diedre says she has made them from cookbook pages before and vintage pages would add to the cost of making them but not that much!!

This was a dream table!  All those little pewter salt cellars, spreading knives, crystal cordial glasses - entertaining specialty items that no one really needs but are so much fun to entertain with and so much fun to look at!!  
Beautiful, indulgent items all displayed on a simple rustic farm table.

These all cotton oven mitts are displayed in a vintage wire laundry cart on wheels.

The strawberry theme of this display took me back to my college days, when my roommate coined one of my nicknames 'strawberry' due to my red hair and freckles!  
So this farm girl made it to Mill Valley to gawk at all the vintage farm stuff Tyler Florence displays his wares in - it was a treat!  The beauty of a well lit store with its creatively displayed merchandise relaxes me as I take everything in.  So if you are ever in Mill Valley, stop in and check it out.  You may even run into Tyler Florence 
as he is often there for book signings and special events.  
I signed up to get the stores email news - I'll use any excuse to have to go back!

Monday, July 18, 2011

Restore and Rework

Who would have thought that in July it would be a perfect 75 degrees at the Sacramento Antique Fair. It's no secret how much I love attending this event!  Last Sunday, I met two friends there, ran into two of my cohorts from Melange, and met vendor Cisco Diaz from Restore and Rework.  One of the best things about the Fair is meeting new people, learning about antiques and networking with other vendors.

Cisco has been "restoring and reworking" for about a year.  After the mortgage business took a turn for the worse,  he told me he had no idea what he was going to do but knew he liked building things from scrap wood and decided to try building a business out of repurposing.  He turned to one of his hobbies and started up his business which includes participating in numerous antique and flea markets throughout California, a website and an Etsy site.  Here, a french end table got a fresh coat of white paint. Spindles and an old mason jar fill a wooden box.  Cisco fashioned the box's handle from a piece of rebar.

An homage to my twelve years in Catholic school, this collection of Mary statuettes caught my eye as I wandered through the aisles and drew me into Cisco's 'Restore and Rework' space.  A brief look over and around and I noticed something different about this vendor.  Rather than mostly frilly and feminine vintage, it was masculine, clean line, industrial chic vintage with just small accents of feminine pieces.

Cisco builds many of his own products from repurposed wood and other materials, and he has a woman who stitches up pillows for him, from burlap he stencils, and satchels made from vintage feed sacks and grain bags.  Cisco often brings along his daughter, Danielle, to help him out during shows.  A bright and personable 17 year old, she often helps her dad with the painting, making the business a family affair.

 Birdhouses were made from old spindles to which he added found hardware.
The economy is responsible for so many people changing life plans. Its interesting to see how people handle speed bumps in the road of life. I loved the surprise of the unexpected in some of his displays.

A man's bust watches shoppers from inside a cloche.

A rusty scale seems to age the abacus sitting next to it.  The shabby step stool could have been used by the same youngster who used the abacus for math homework.

Standing out amidst a cluster of gray index file boxes, this white floral frame pops - a bright spot of soft femininity in a sea of industrial metal.  Cisco also added some variegated coleus in a galvanized pail to add an organic touch.

After visiting flea markets for years now, I've seen suitcase after suitcase filled with linens for display but this was the first time I've seen vintage photographs displayed in one.  Some people say it makes them sad to see photographs at a flea market, like their families just threw them away.  I like to think of it as someone cared enough to salvage them to give them hope at a new life - perhaps added to a shadowbox or in a collage.

Spools of jute rope are displayed in a hanging basket -
a vintage subway sign can be seen in the background.

Hand stencilled letters and numbers find their home in an old drawer.  Clearly, Cisco has a knack for repurposing and creating out of found materials.  I wish him nothing but the best as he continues to build his business, Restore and Rework.  You can contact Cisco by email restoreandrework@att.net, by phone 510-708-6388, his website or etsy site. Check his website to see what show he will be participating in next. As I looked around his space before continuing on, one more display caught me by surprise.
 Tucked inside a wooden box was this vintage photograph of a boy holding a rosary.  The boy seems pensive as if he is praying for something, but at the same time he looks relaxed.  Looking at the photo I couldn't help but think of the photo as an iconic symbol of these economic times.  When life throws you a curve, remember to let go and let God.  I believe God has a plan for all of us, whether we know or understand why things happen, a little faith goes a long way - and my faith is something I cherish.

Friday, July 15, 2011

Before and After: Roll Top Desk

This roll top desk was in pretty good shape when I found it 
but the varnish was starting to dry up and flake off.  
I was going to sell it "as is" but I really wanted to shabby it!

It is really sturdy and the roll top works perfectly -
a great candidate for a makeover!  The polished brass knobs had to go.
I'm going to replace them with some glass knobs from my collection.

The inside of the desk was in great shape as well - but again, those shiny brass plates on the front of the drawers weren't going to look so great once I painted this desk white!  I love the main drawer handle - it is carved wood so that will just get some white paint and little sanding- no need to replace it with that detail.

So I sanded and painted and sanded some more until all the wood was shabbied!  Then I set to work on the plates - a light sanding and then primed and dried.  I thought the gray primer color would look pretty good but it was too severe.  So I painted the plates and screw heads with a light gray spray paint and reattached them.

Next onto the knobs!  The knobs can make or break a piece - I first tried pink knobs but I didn't think the pink looked that great on a roll top - perhaps on a desk with some ornate carving.  Then I tried some antique green glass knobs I had - green may limit the buyers and I was doing this piece for resale.  So I went back to basic clear glass knobs.  I had three different kinds; flower, beaded edge and star. I finally settled on the star ones.

So with the plates and the knobs back on I just had to finish sanding
the inside desk area again so it was nice and smooth.  
 A dry paintbrush works great for dusting out all the dust from sanding.

With the lid closed, I sanded the ridges of the roll top so they would be shabbied, too.  You can see the nice carving in the drawer handle here.

This desk is ready for a new owner to cherish!
The solid oak desk has received a fresh makeover and is ready for a new home.

As the sun sets, I load the desk into the car, 
ready to take to Melange for our Bastille Day Sale!

Come on by if you are in the area and have some French treats 
- and maybe you will win one of our gift baskets!!

I'm linking up to these parties - check them out!


Smart and Trendy Moms


The Shabby Nest