Thursday, July 14, 2011

How-To: Easy "Paris" Banner

Happy Bastille Day!!  I love everything French and today is a day the French celebrate!  I made a "Paris" banner to celebrate - I could have done it in Red, White and Blue since those colors are France's national colors, but I already have one of those for Fourth of July!
 So I decided to go with the more popular pink, white and black 
colors for a Parisian Theme. 
Banners or garlands make everyday occasions extra special.
Here's an easy way to create a banner.
                                                                   
 
First, cut out a basic shape out of card stock for each letter that your banner is going to spell out.  I am going to make a banner that spells "Paris" so I needed five shapes.  You can use a Cricut machine to cut these out if you have one.  The shape can be a square, diamond, rectangle, circle - whatever you like that will fit the theme of your banner!  I like to use cereal boxes - the thickness of the cardboard is perfect and I always have a box with just a little left in it I can dump into another cereal!  You can cover the cardboard with scrapbook paper or just spray paint all the shapes at once when you get them cut out!

Punch two holes with a standard hole punch in each shape about two inches apart.

Grab some glue - I used this kind for this project  because the tip allowed for a tiny stream of glue to come out at one time.

Squeeze a narrow stream of glue along about half the edge at one time and . . .

 . . . dip the glued edge into your choice of glitter.  Tap lightly the glittered edge with your finger to make sure the glitter sticks to the glue. Repeat to adhere glitter to the second half of the shape and then do the rest of them.  

 I used Recollections Tinsel Glitter here so it looks a little more vintage.  German glass glitter is also good to use as it will tarnish with time if you want that authentic 'vintage' look!

Next, grab some scrap scrapbook paper in a pattern you like and cut a small diamond shape out of it.  I used this paper because it already had perfect diamond-shape clusters all over it and it was pink which fit the look I wanted. I also cut it out using a wavy shape scissor instead of plain scissors so the cut would be more interesting.  You can cut out any shape for this step - I just wanted little diamonds!

Glue the diamond shape scrapbook paper pieces to the middle of each shape.

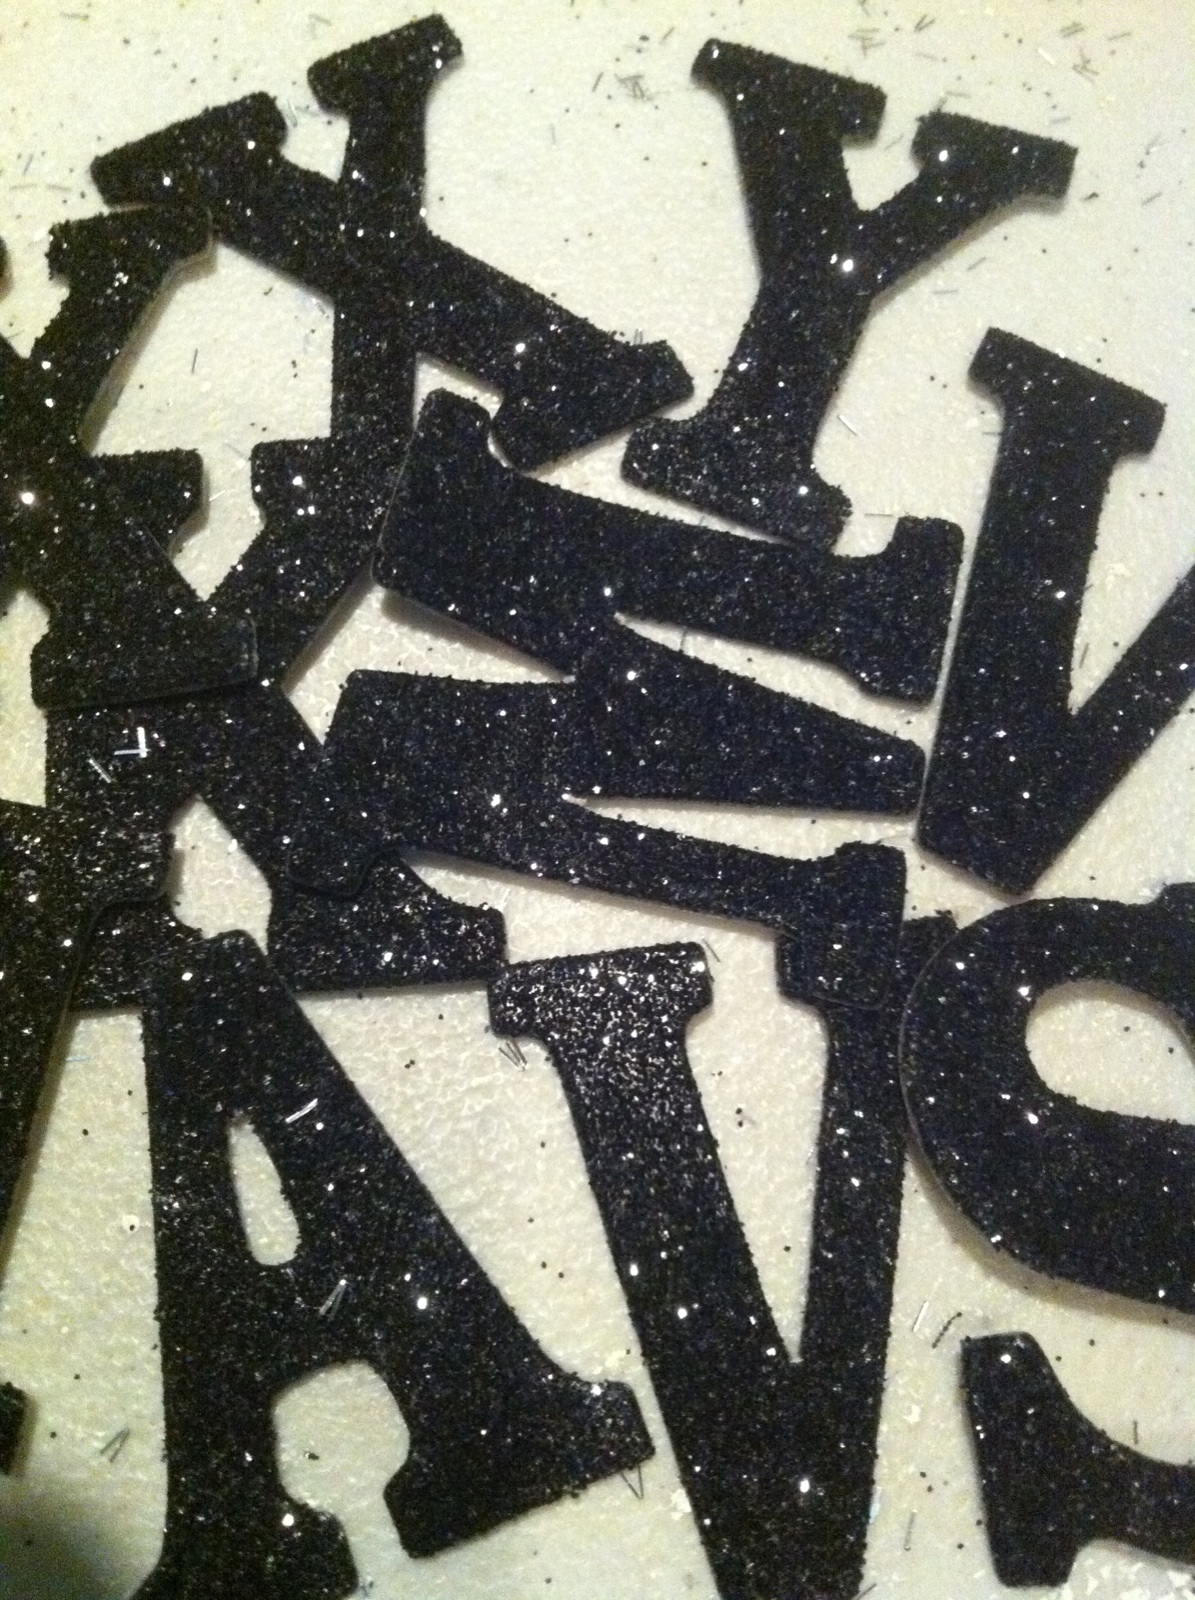
Find some glittered letters at your local craft store.  These come in lots of sizes and colors.  I am using black glittered letters for this project.  I have seen them in pastel colors, white glittered, red glittered, black glittered, etc.  

 You can print letters from your computer, like the letters on this banner,  and cut them out individually if you can't get to the craft store.  If you have a Cricut machine you can cut them out yourself or another option is to used rub-on letters but I suggest you rub on each letter before you add the glitter to the edges!

Glue one letter to each glittered edge shape - center it on the diamond and between the two holes you punched in the top to be sure it reads right when you string the letters together.

Finally, string the letters together in order to make your word.  I used black tulle to string these letters together.  You can use ribbon, jute, fabric scraps, shoelaces, just about anything to string your letters together to add character to your banner.  
My theme was Oooh La La "Paris" for this banner so frou-frou tulle was perfect! 
Make sure you cut a long enough piece to tie the ends to whatever you are hanging your banner on and enough to add bows if you like!  
I love making these banners and have several for sale at Melange
I have also made them for gifts and it is a gift the receiver seems to cherish!

I am linking up to these parties so check them out!

Fireflies and Jellybeans: Show Off Your Stuff Party

Somewhat Simple: Thursday Do It Yourself Party

Tuesday, July 12, 2011

Mystery Object: Help!

Ok - I've been a little busy lately and fell behind on my blogging but I have many posts in the works so stay tuned!  But until then. . . I made my monthly trek to the Sacramento Antique Fair Sunday with newbies Sandy and Ashley 
and came home with quite a few treasures and one mystery item!
First - here are the treasures!!

This dainty little flower cart will be put to good use for display at my next affair!

How could I resist this charming pillow - 
the little dog's face captures the thrill of that first catch!

These vintage bottles lured me with their jewel tones shining in the sunlight of the morning!


 Pitchforks in good shape are hard to find since they are one of the workhorse tools on a farm - I had to get this for my husband - not sure where we will hang it but I will take a picture and post it when I do!

        This was Ashley's first time to the Antique Fair under the freeway in Sacramento! 
I love this picture because you can really see it truly is under the bridges of the freeway. Check out those vintage suitcases!  I could go crazy . . 

Now who's in on guessing what the mystery item is? 
  
 
Here it is!  The girl I bought it from said she used it to store her paints and brushes with her brushes in the center section and the paints all thrown in the outside portion! 
What do you think it is?  Leave me a comment below with your guess.
It will be fun to see what other readers think!
 
Have a great Tuesday - and remember to Cherish Everyday!
                                                                                                                                                              

Tuesday, July 5, 2011

Before and After: Vintage Double Bed

This vintage bed was a cherished designer piece decades ago.  A friend's teenage children worked at a consignment store in the East Bay area and they grabbed it while at work one day.  It served it purposed well while my friend's daughter attended the University of Nevada-Reno but was surrendered to me when she graduated,
to see if I could give it new life and purpose.

 The rounded foot board gives it classic styling and the groove along the top of both the head board and foot board adds some extra detail. But the front was still pretty plain and I decided it needed some embellishment.

So I set out looking for the perfect piece that would fit the arch on both the head and foot boards.  This was no easy task since the curve of the headboard was a bit more gradual than the curve on the foot board.  After numerous trial and errors trying to find two identical pieces to fit, (and a small fortune!) I realized I was going to need to different pieces. 

The bed needed lots of sanding to get the old cracked varnish off, and then a couple coats of primer to make sure none of the stain that had been used previously would come through when I gave it a new coat of antique white.  The embellishments really added that extra flourish to make this bed a standout piece.

Sanding between coats of paint kept the paint nice and smooth.  Next I distressed it to accent the curved lines and the details, which is hard to see in this picture!  Finally, I sanded, primed, and painted the wood side rails.  This double bed is now ready for a new life in a new shabby chic, cottage, country or french themed room!

I moved it into my space at Melange and topped it with a new bed canopy from Pottery Barn to really draw attention to it!  I strung one of my "Princess" banners across the canopy to set the stage!  I absolutely love this bed!   It is so much fun to see the excitement something I have worked on so hard brings to our customers.  It is going to be hard to part with it but I love it when a customer loves something as much as I do.
I know it will be cherished once again.


I will be linking up to these parties so check them out!


Wow Us Wednesdays at Savvy Southern Style


Faded Charm Cottage White Wednesdays

Sunday, July 3, 2011

Fun 4th of July Cupcakes!

Looking for something new for dessert to surprise your 4th of July guests? Here's a easy, fun, quick idea! Remember those Pop Rocks candies you would eat straight from the little envelope that came in, that exploded in your mouth?


How about using them for your "sprinkle" decorations on some cupcakes? 
Just bake some cupcakes . . 


Frost them with your favorite frosting and put in the refrigerator 
or set them aside until ready to serve.
                                                           

Then right before serving - sprinkle the "pop rock candies" on to the top of each cupcake . . .


. . . add an American Flag pick to each cupcake and serve!  

 Your guests will get a mini-explosion in their mouths with each bite!  Pop Rocks come in many different flavors which are different colors.  I used Cherry flavored here so I had red sprinkles.  Some of the pop rock candies will pop right when you put them on the frosting so the 'sizzle'  and the 'popping explosion' both add to the fun of the 4th! 
Enjoy and Happy Fourth of July!

http://www.tipjunkie.com/images/TipMeTuesdayButton1.png

Friday, July 1, 2011

Before and After: Pair of End Tables

 Summertime means cleaning out the shed time!  I can't remember where or when I discovered these end tables - they've been in the shed for years!  These two toned tables scream 'the seventies' but the cabriole legs and wavy edges say 'French Provincial'! They are perfect specimens for  'the shabby look'.

First step - sand off the old cracked varnish! Wow! Look at those water spots - what to do?  Sometimes the old stain or the water spots will work their way through the paint as it dries. So . . .

Time to spray on a layer of primer!

Two coats of paint, and then some sanding and these are properly shabbied!
I decided to paint the wire a french gray . . .

Now they're ready to move to Melange
This pair would look great with a couch or bed between them. 
At least they are out of the shed!